Now You’re Playing With Power
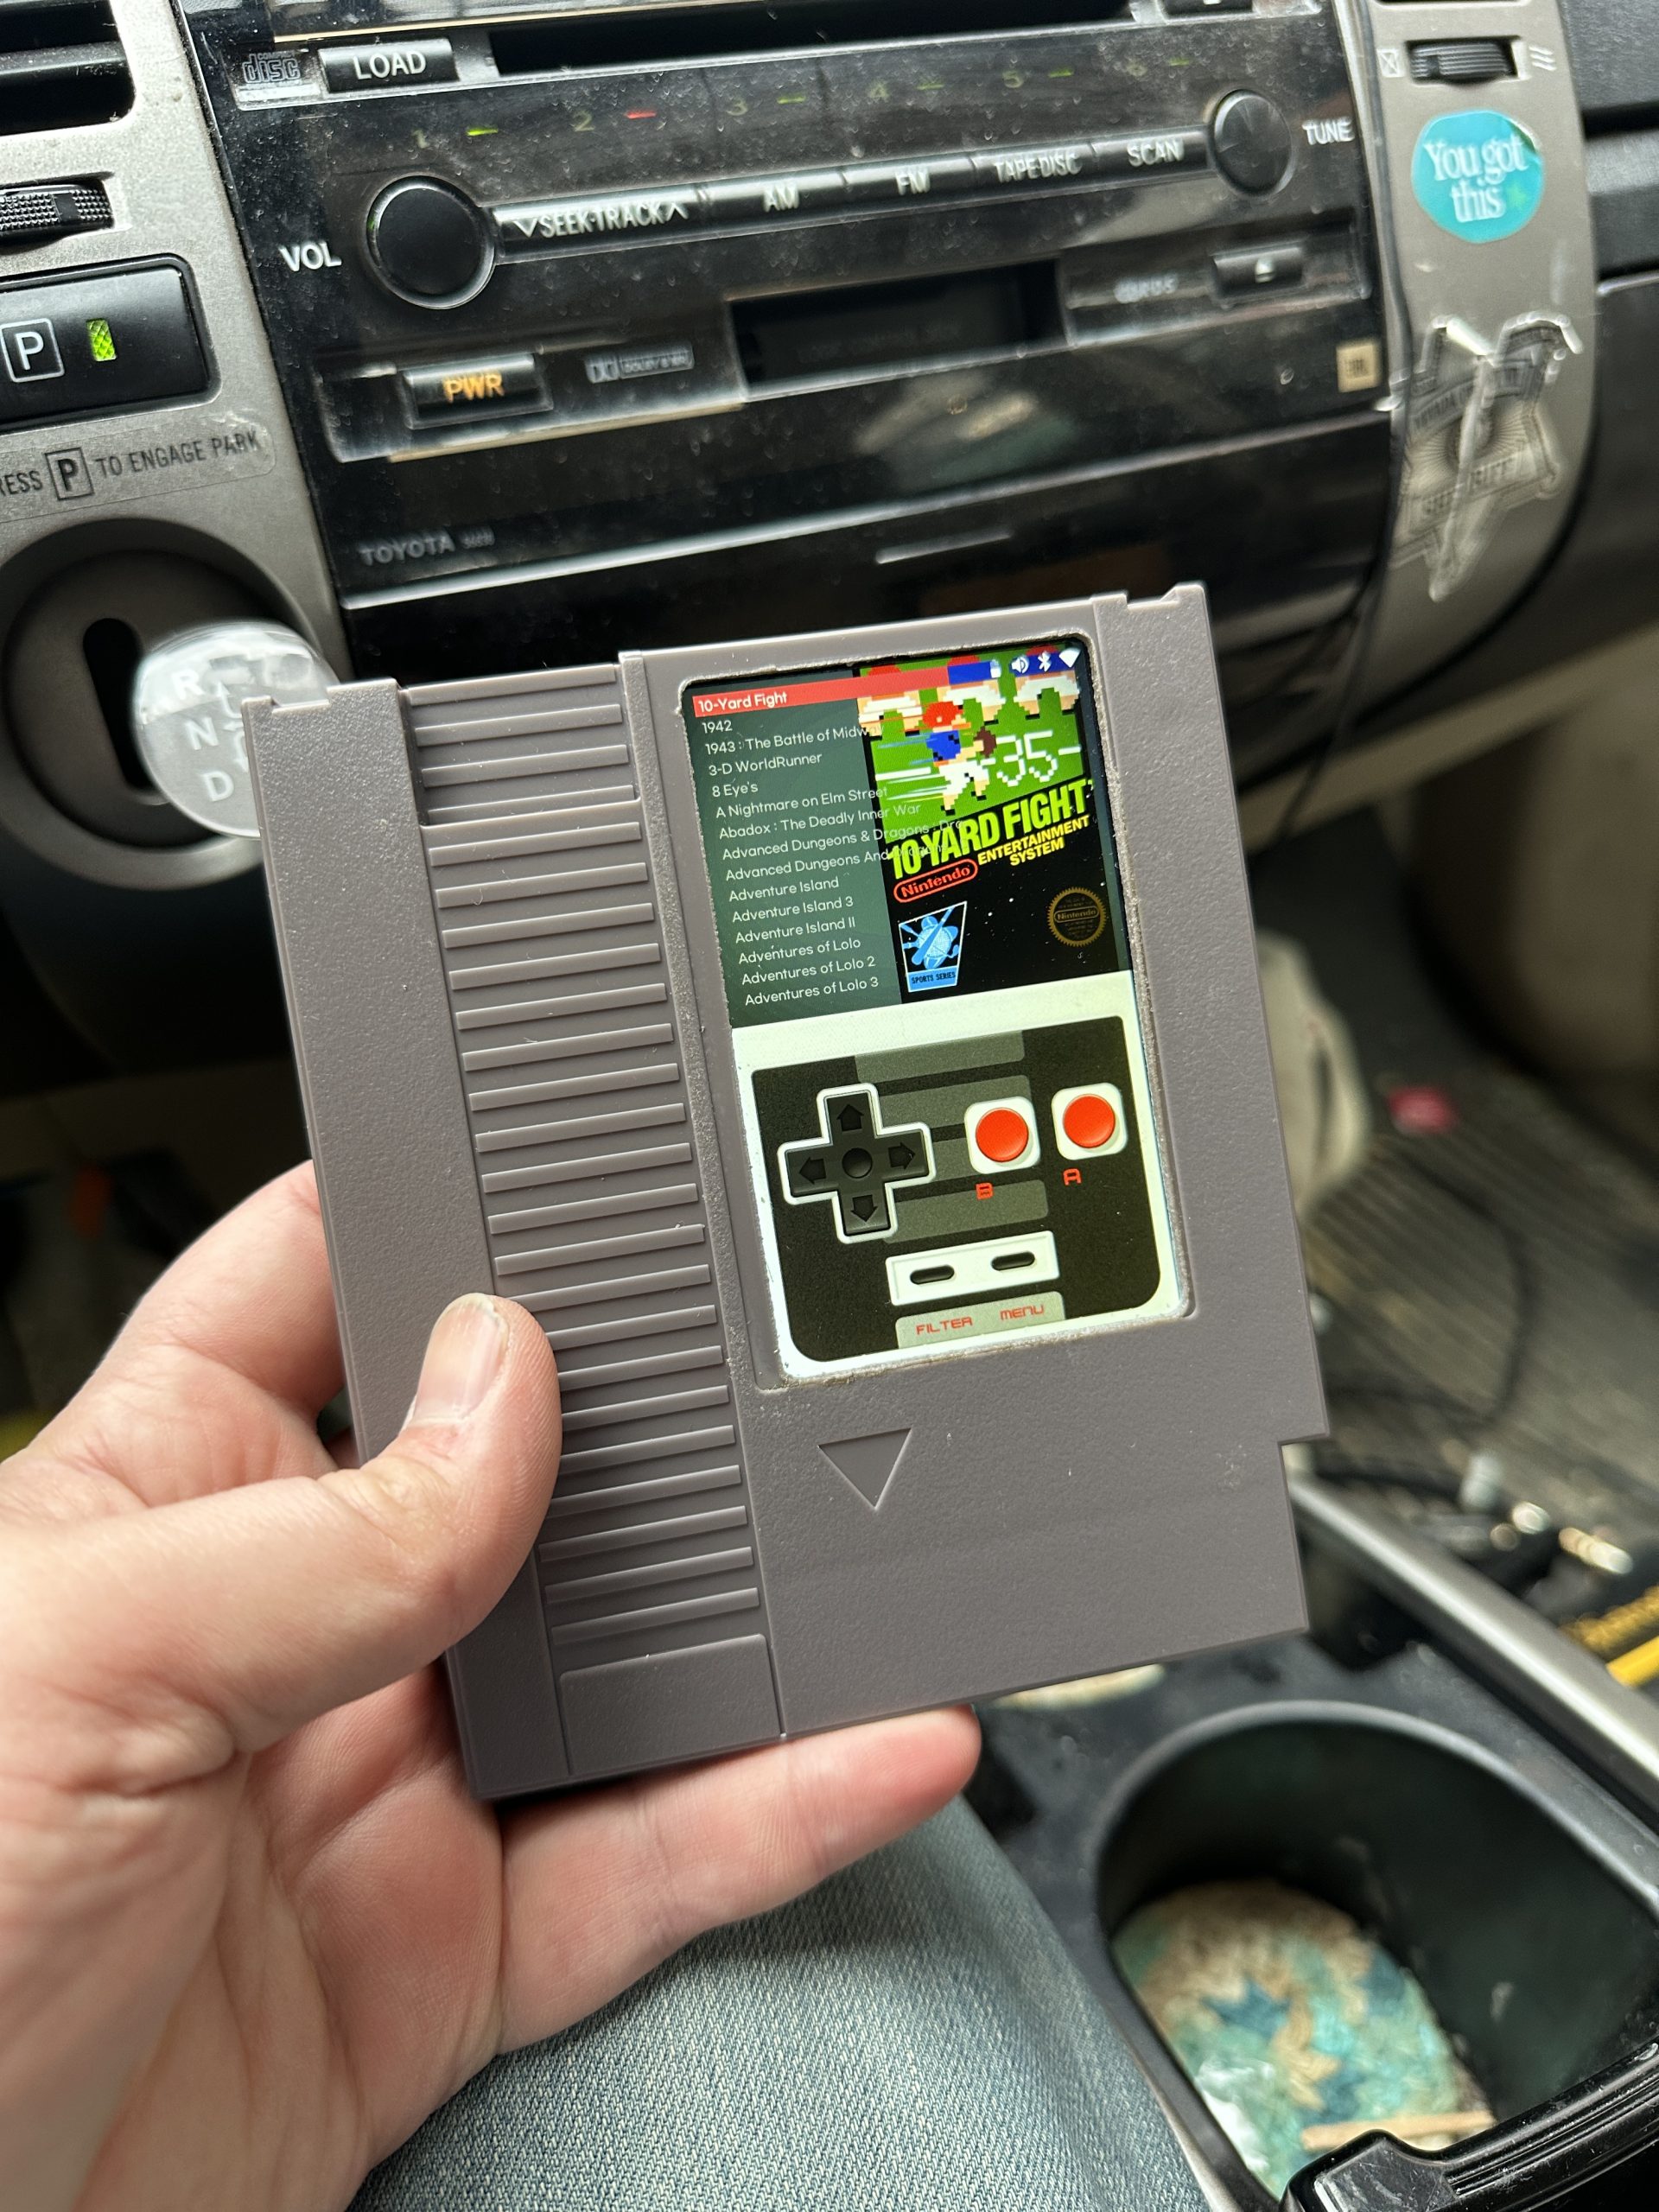
I built a tiny NES emulator that packs a surprising punch: 600 games and a capacitive touchscreen, all stuffed into the shell of an original NES cartridge. I’m calling it the NinTARDIS – because there’s more going on under the hood than you’d expect from the outside!
The NinTARDIS was originally inspired by a Thingiverse project I stumbled upon a few months ago: an NES cartridge picture frame rotating through label art, powered by a Pi! I knew I had to build one for a friend who spends much of his free time on incredibly challenging Kaizo ROM hacks. I iterated on the project a bit, giving the Pi an ad-hoc wireless network so my friend could upload, edit and delete photos as desired; I also ultimately replaced the 3D-printed cartridge with a Dremel-cut ABS shell.
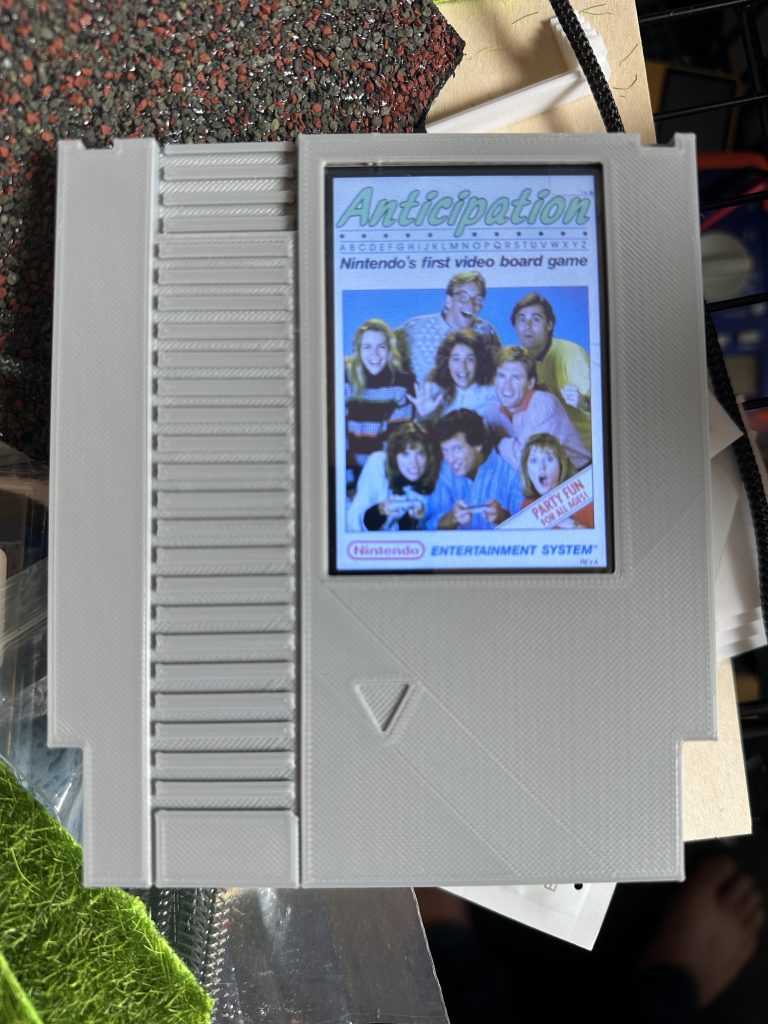
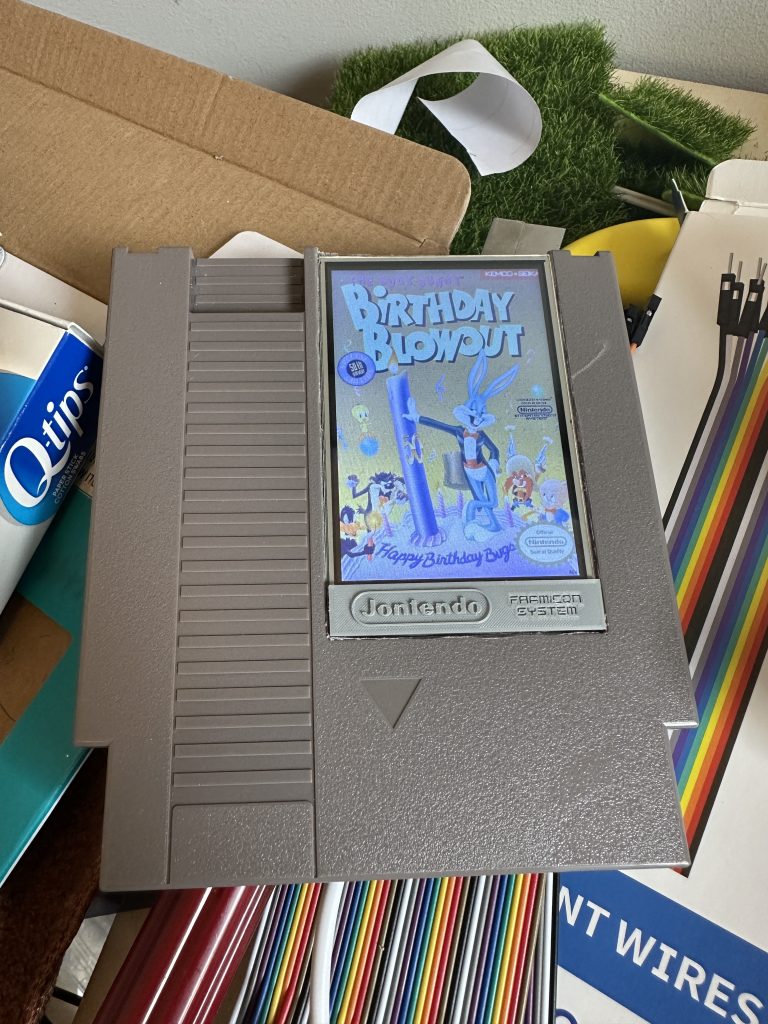
That first prototype was fun, but left me wanting more. I wasn’t thrilled with the build quality, plus the Pi is just too powerful to merely offer a slideshow. It should be able to play NES games! And indeed, that’s the whole point of the RetroPie project and its robust ecosystem of emulators.
With lots of lofty goals for a v2, and another friend who wanted a functional version, I set to work on what eventually became the NinTARDIS. (It’s had a lot of pet names, though. I’m still fond of calling it the Stuffed Shell.)
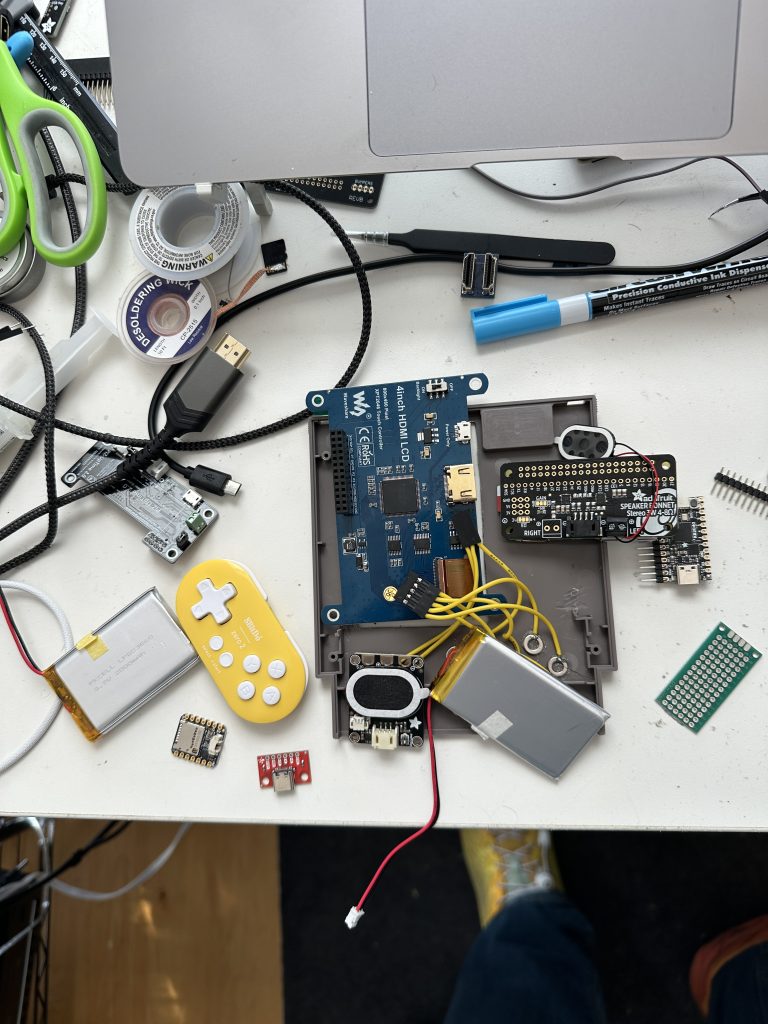
The project involved a lot of fiddling and prototyping. I knew mostly what I wanted, but I wasn’t sure how to go about it. My vision mostly involved a self-contained cartridge that would run through a slideshow of label art, but allow the user to delve in and play any game they stumbled upon. Not super complicated, right?
The key challenges really involved figuring out how to control it, and then how to power it.
I messed with many, many options for controllers.
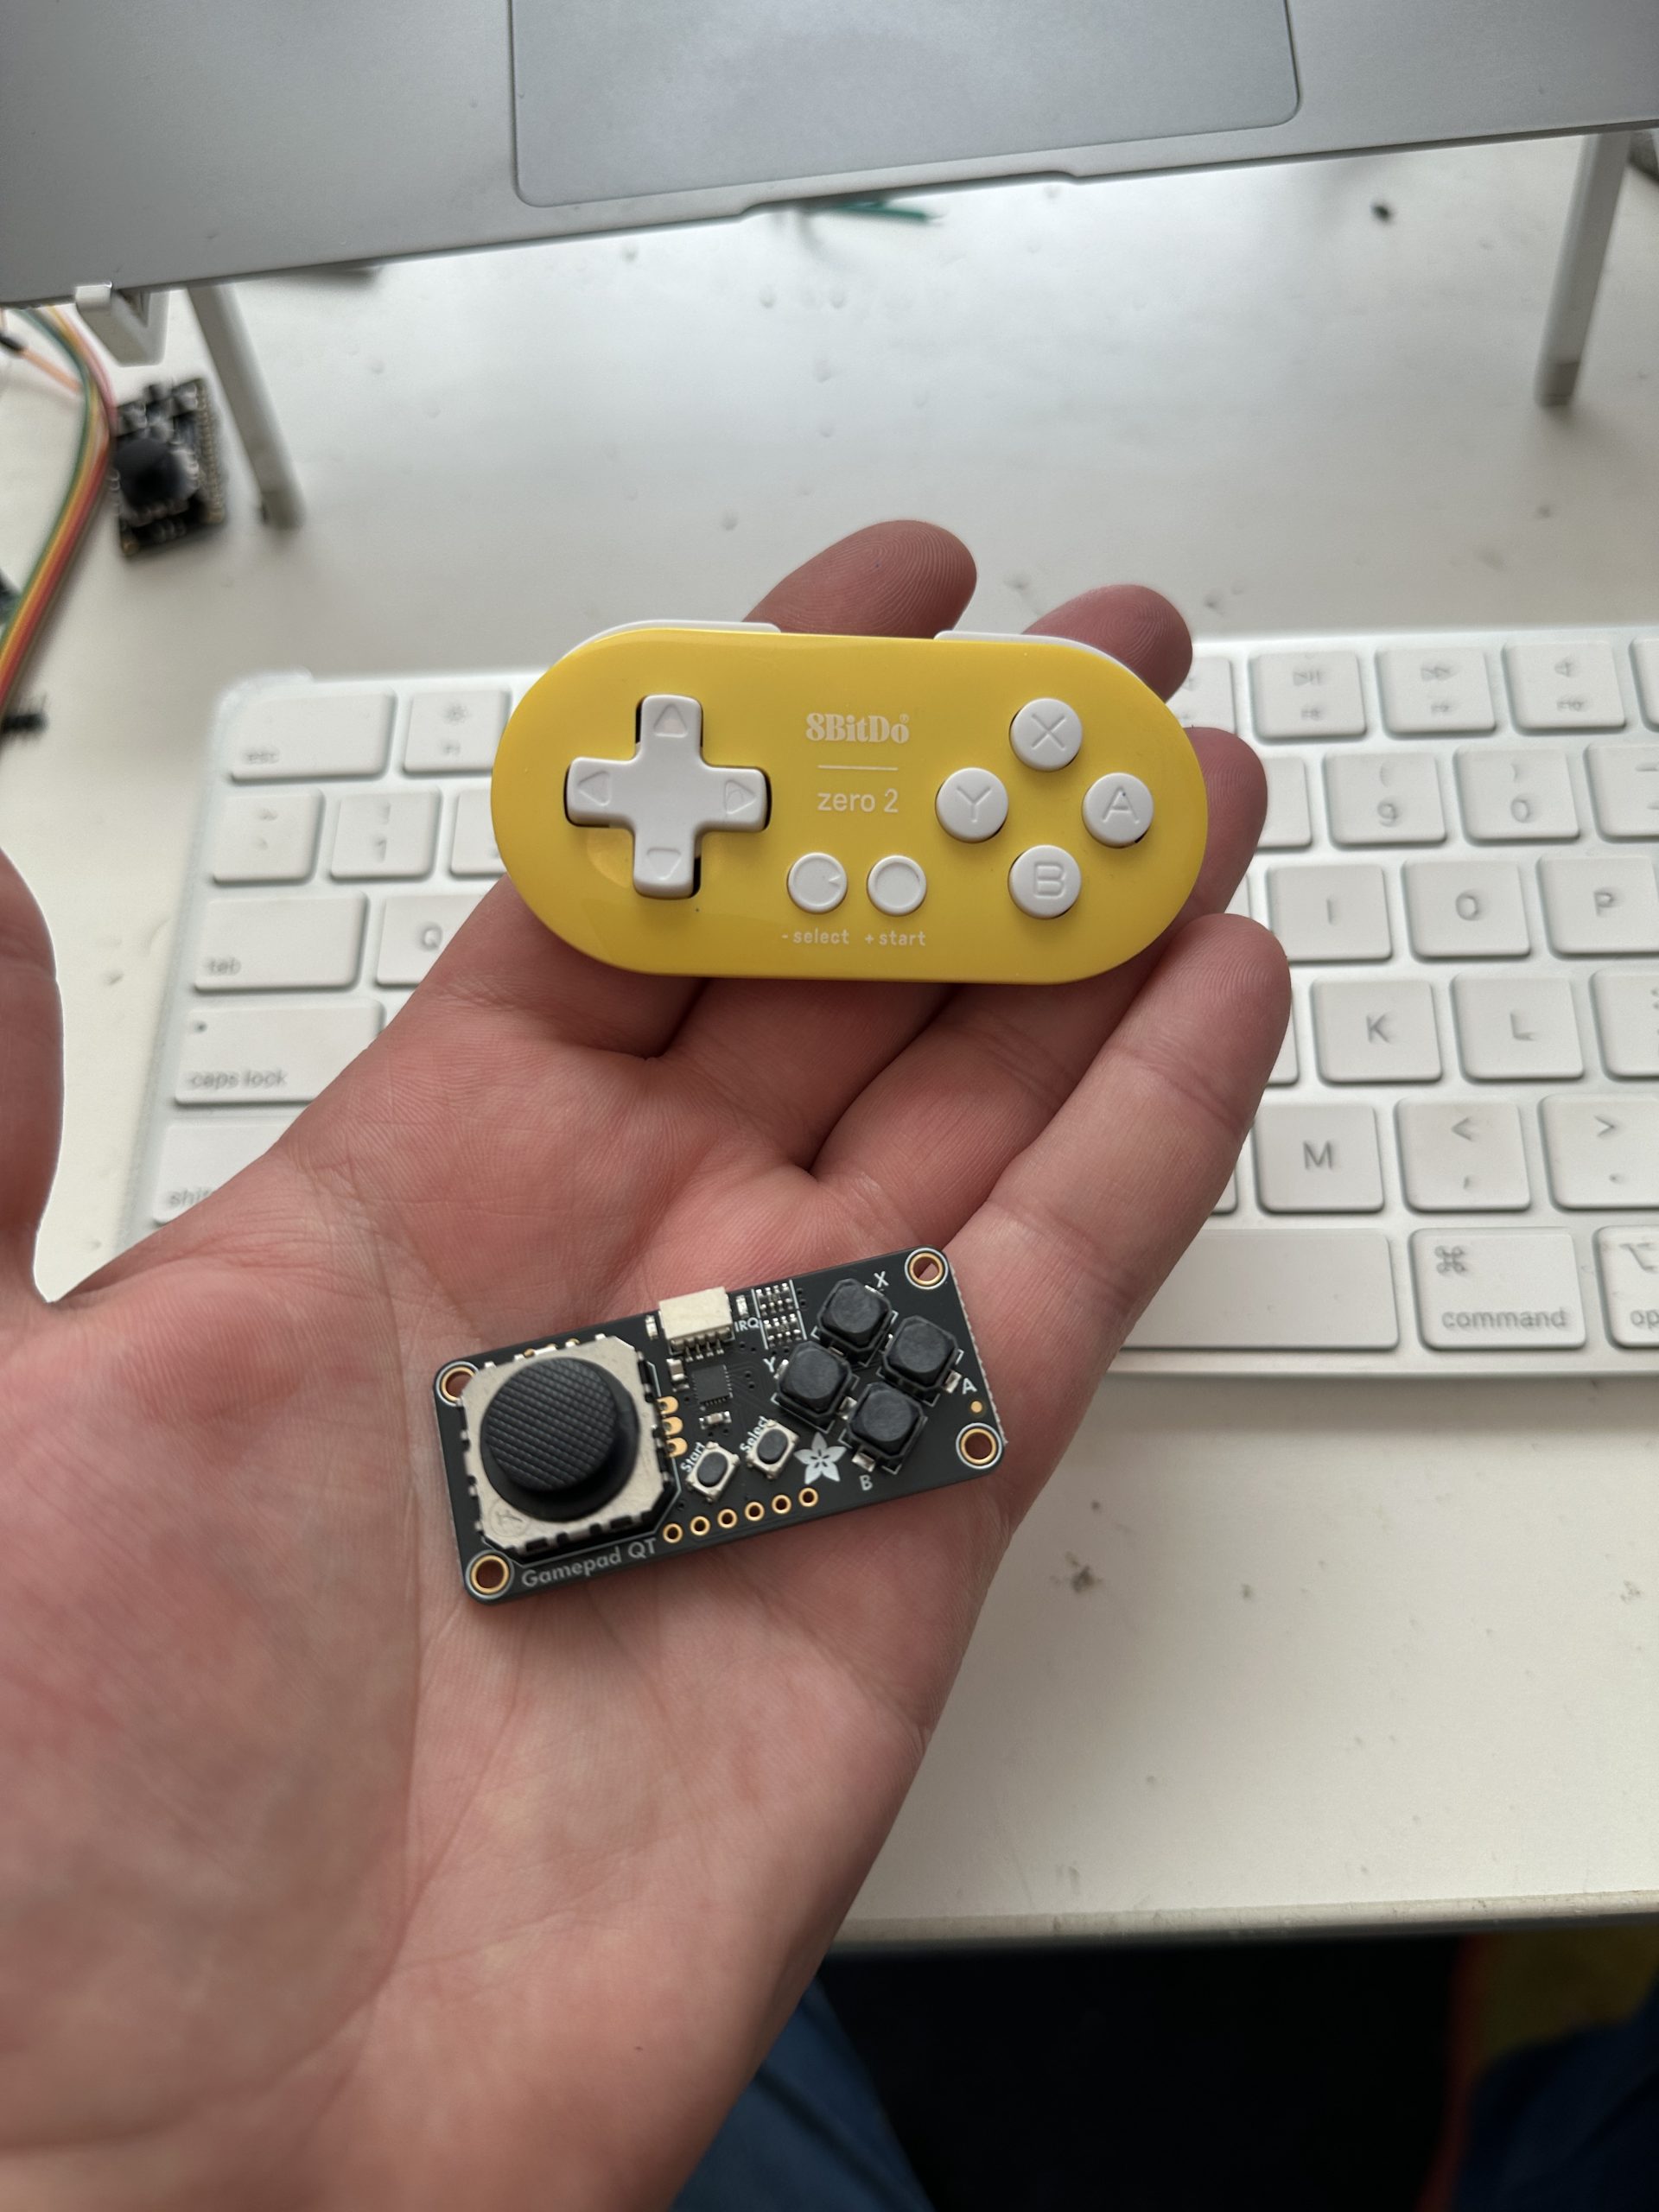
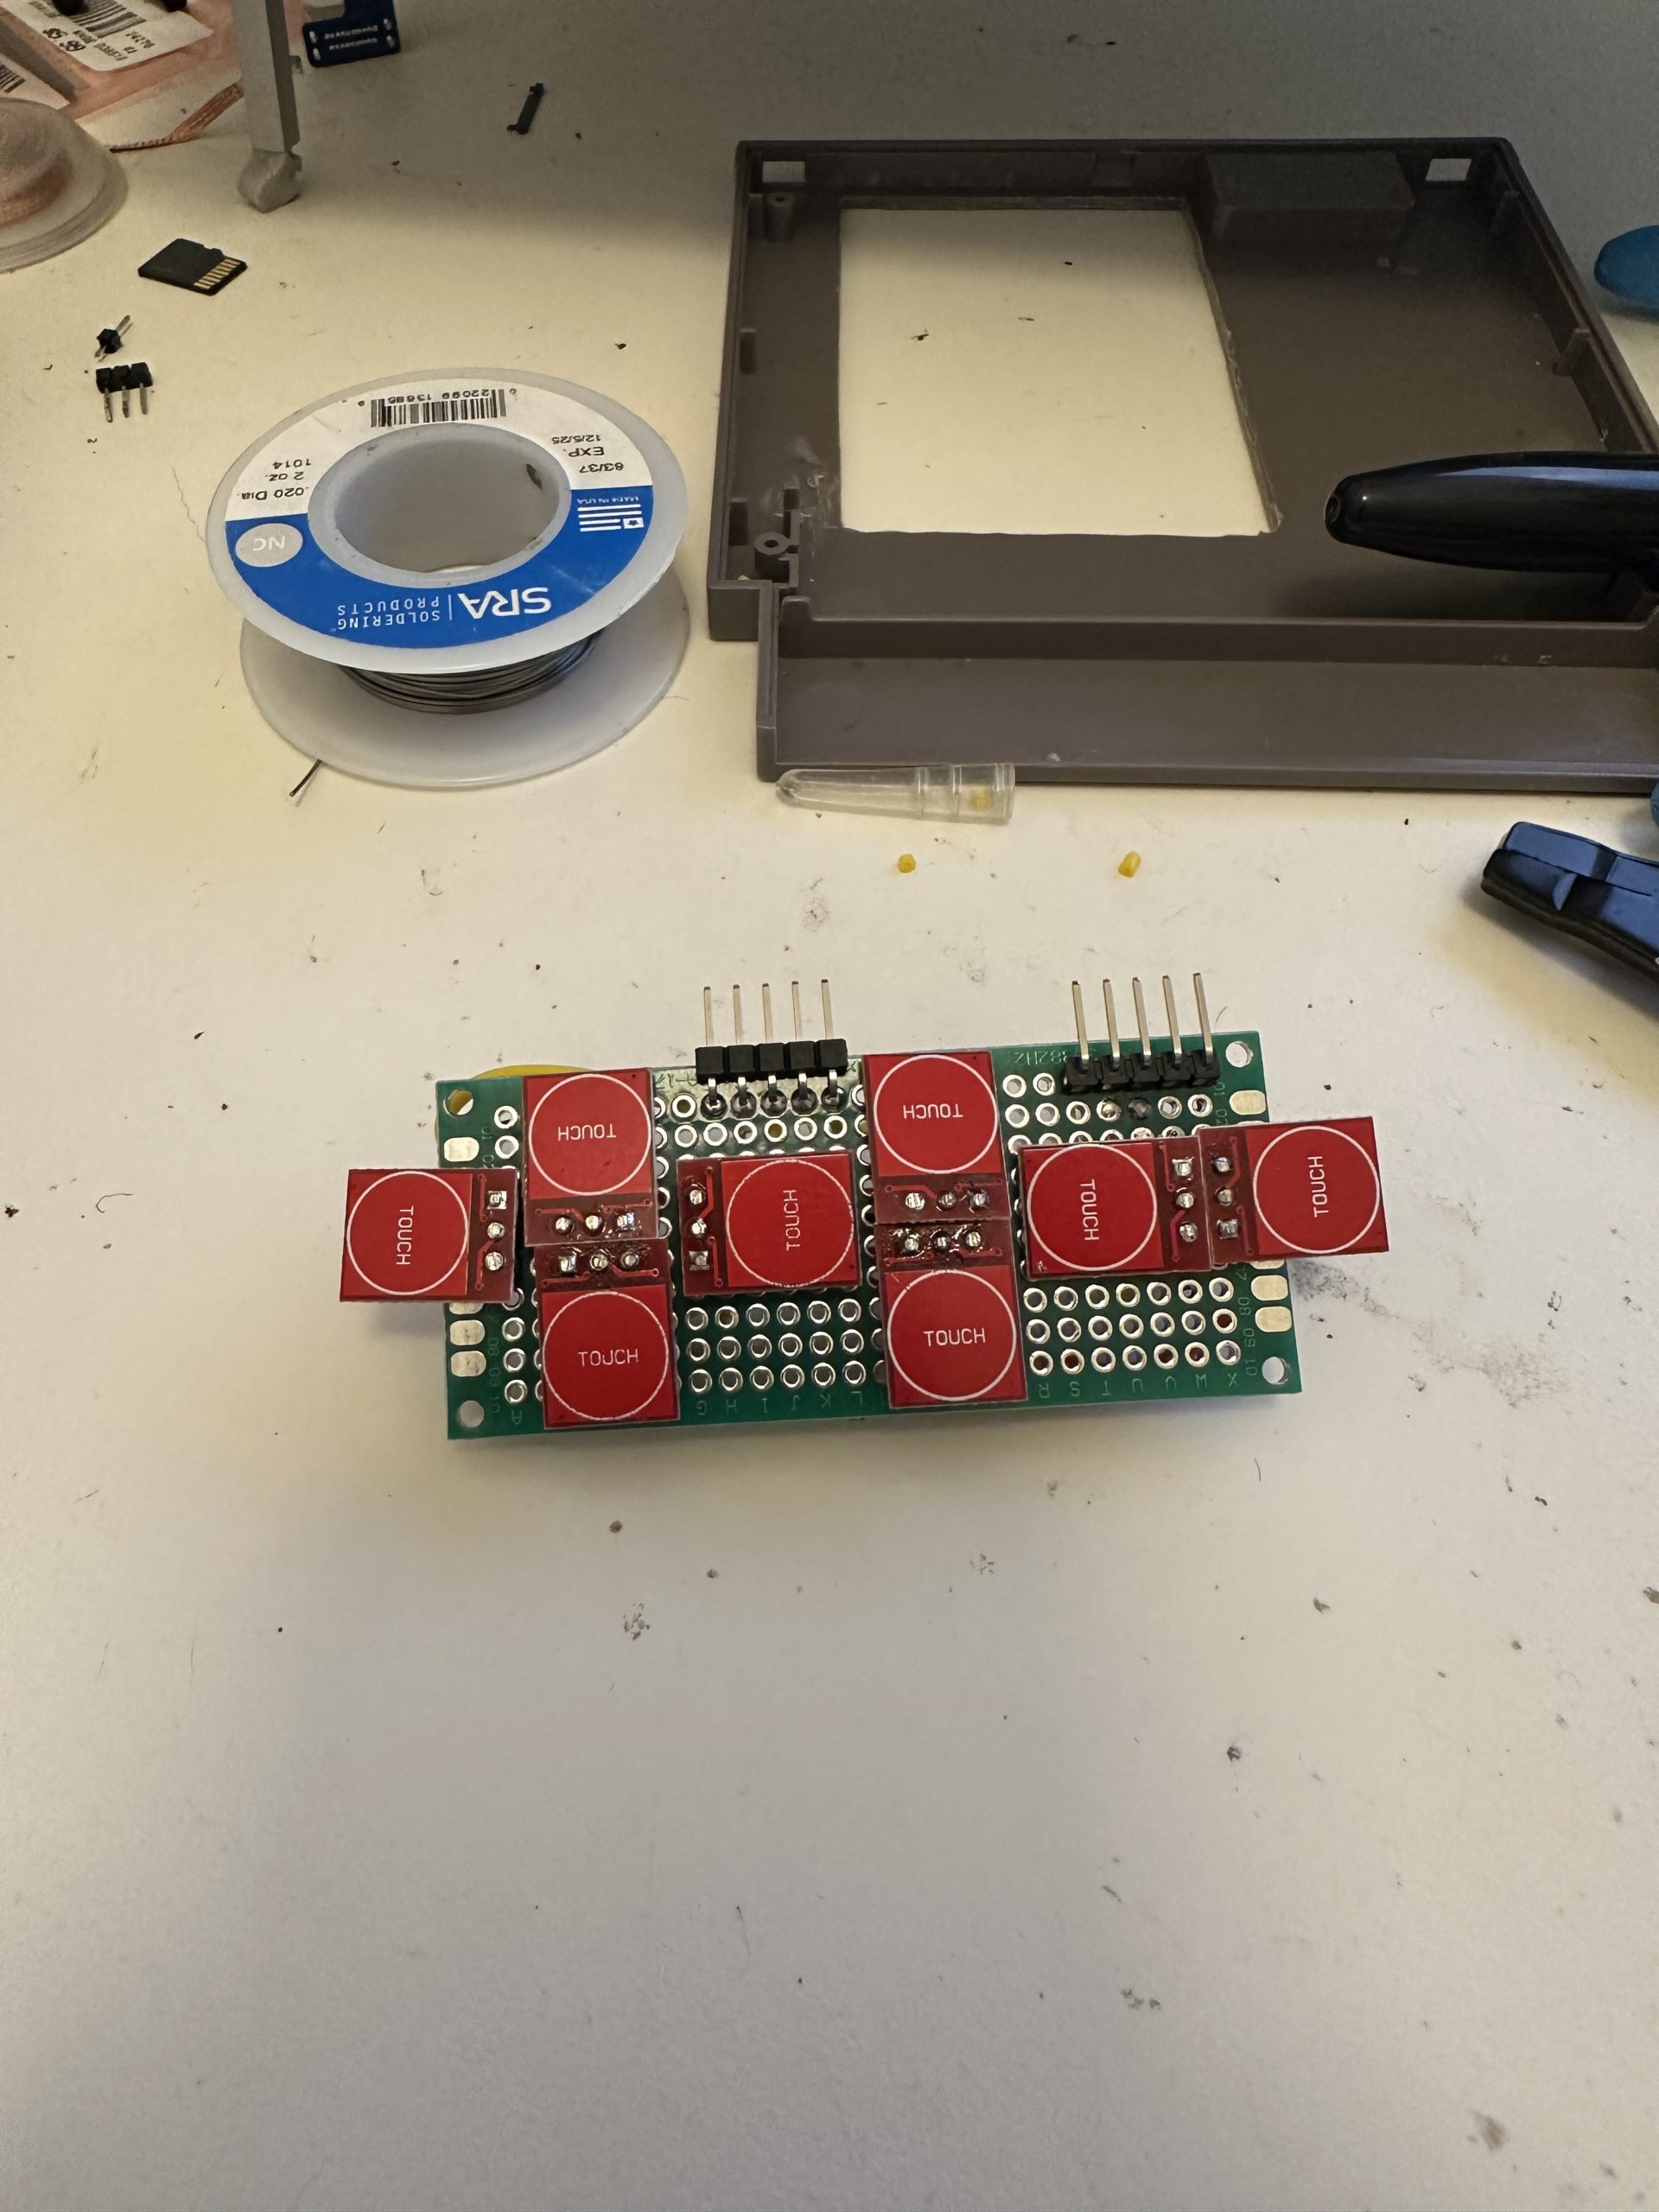
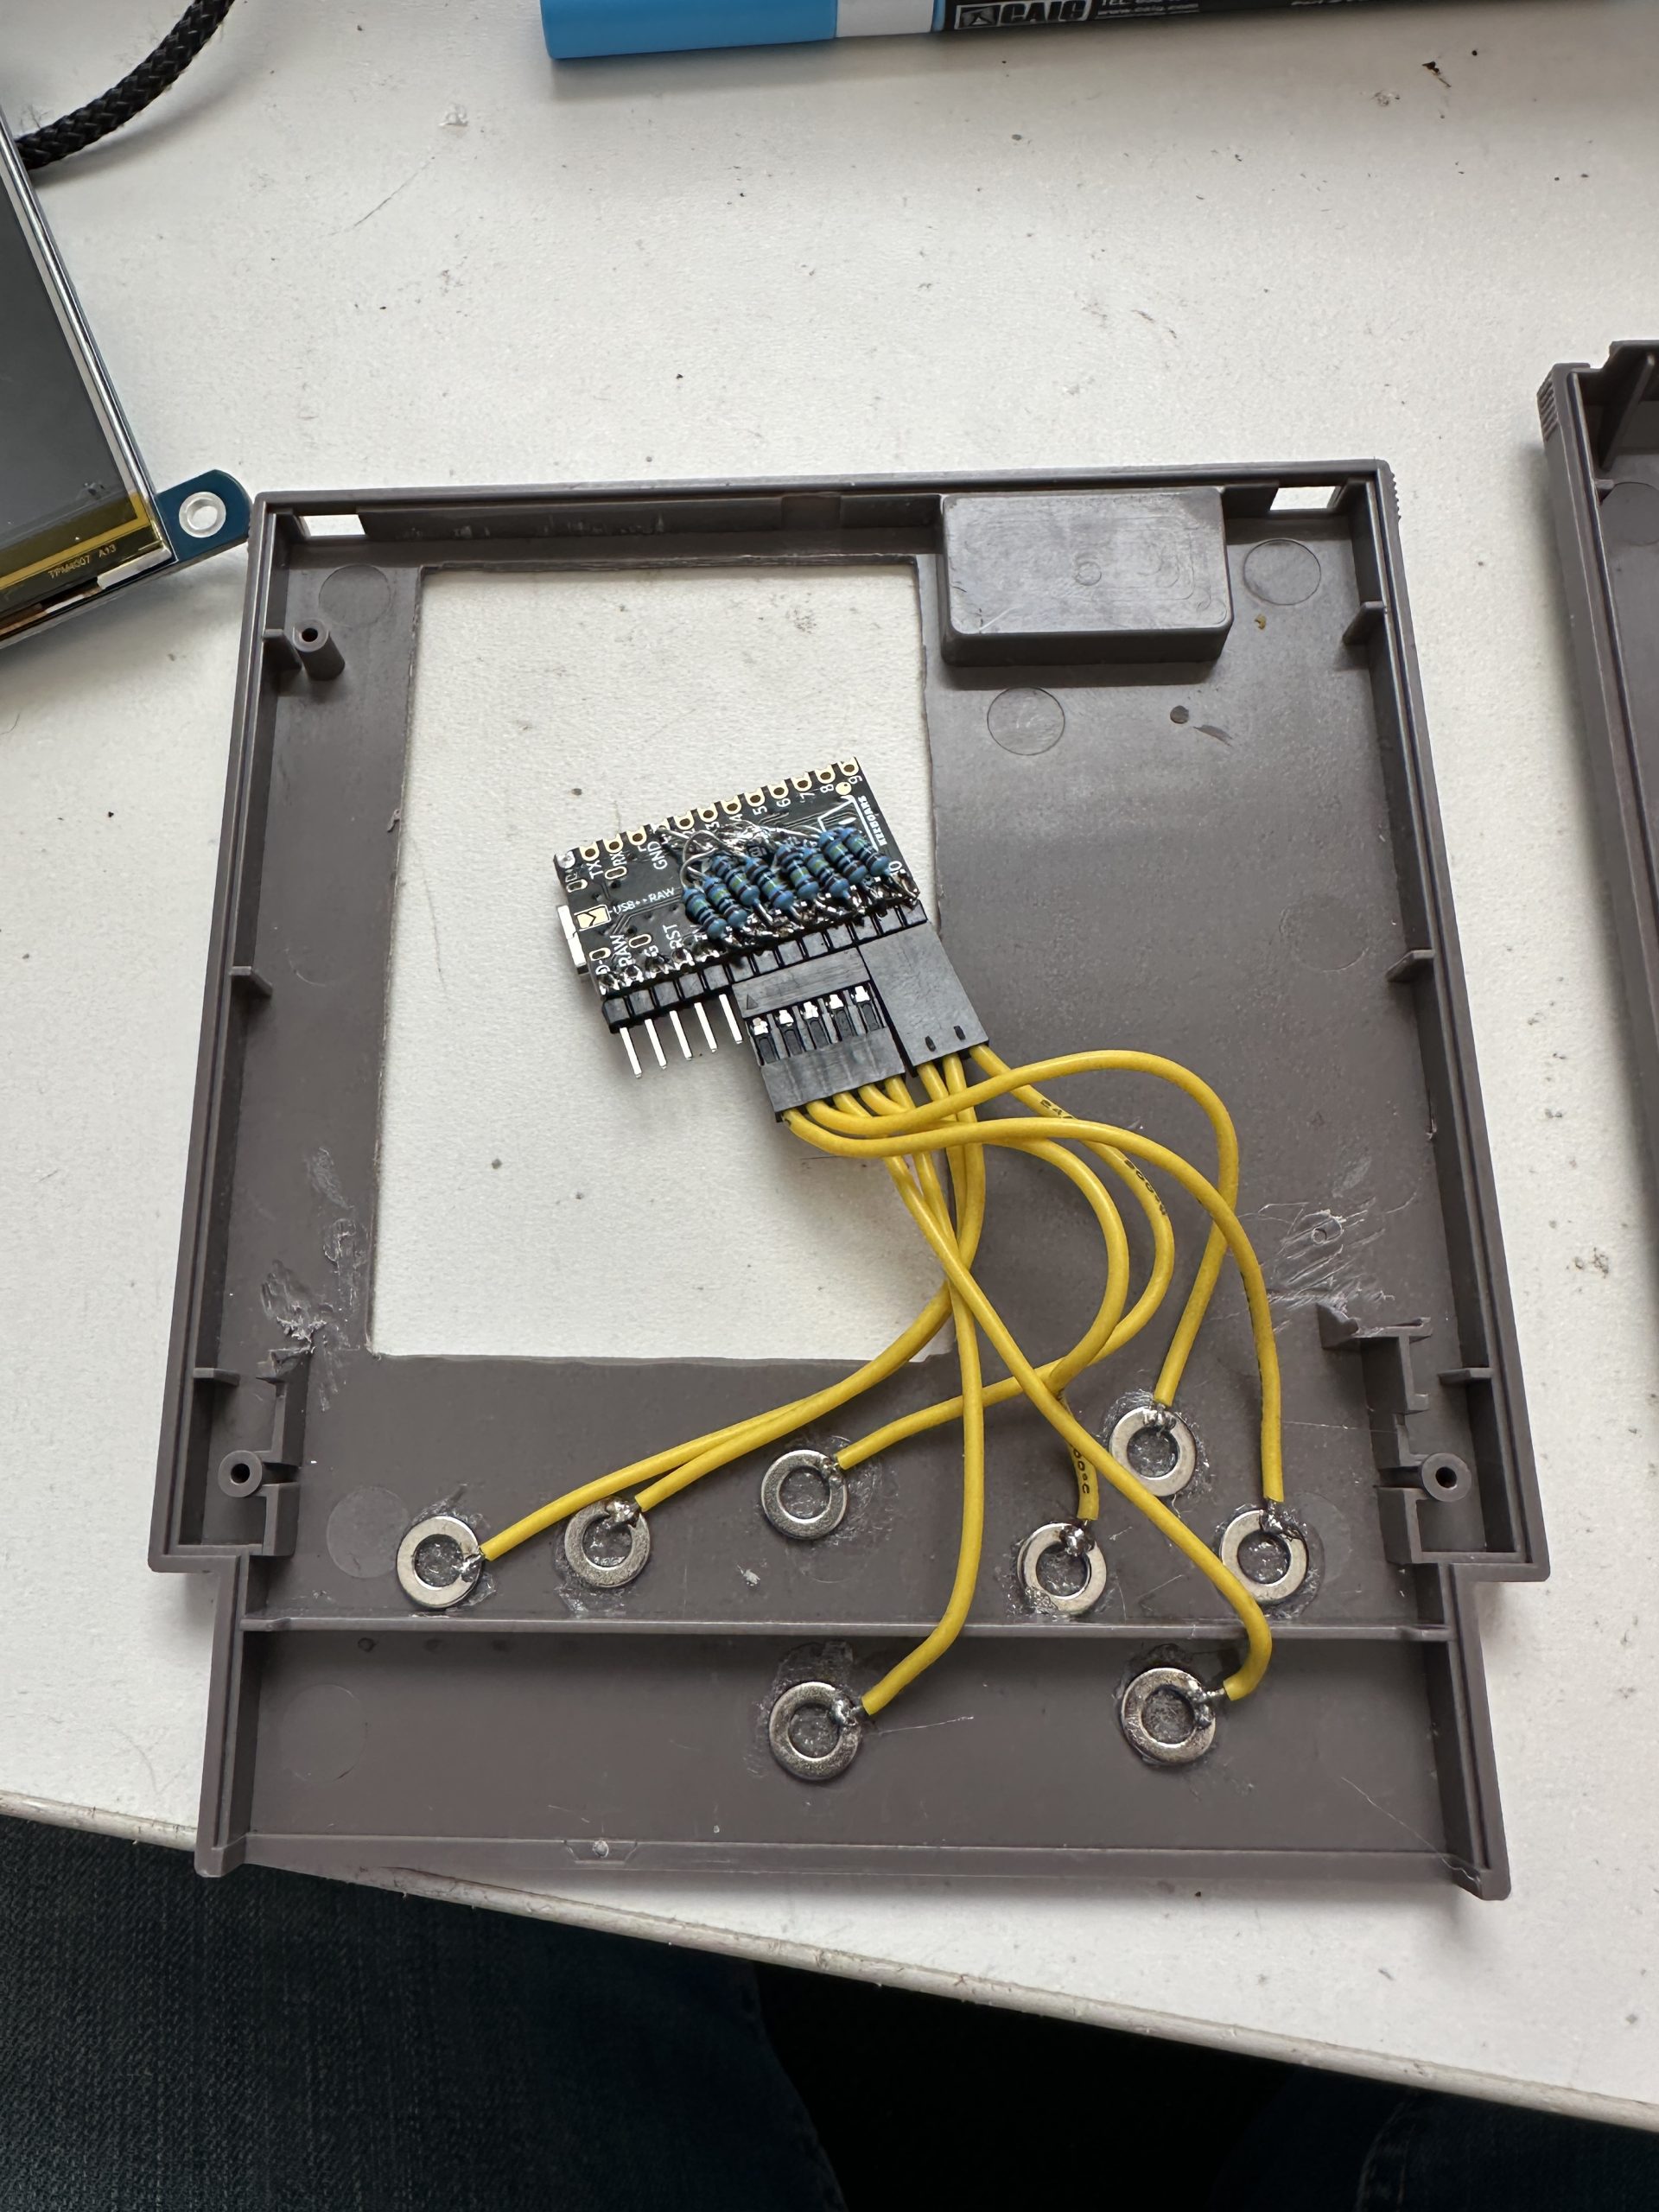
8bitdo and Adafruit both sell various liliputian gamepads, and I strongly considered jamming one of them inside the shell, maybe with a small lipoly battery and bluetooth so the controller could be used wirelessly. But there just wasn’t quite enough space to make that sensible. Then I started messing around with capacitive touch. I first discovered that cap touch sensors are extremely sensitive, and can be activated through the ABS plastic cartridge case! Then I discovered that cap touch sensors aren’t even really necessary – most Arduino boards have a variety of analog pins that can sense cap touch just as well. I created a functional demo with an Adafruit KB2040 that converted little steel washers into hidden buttons on the inside of the cartridge into standard USB HID keypresses, passing those through to the Raspberry Pi running RetroPie. It was amazing but… too clever by half? Touch controls are not optimal interaction models in most cases, and hiding them inside the case made it all just a little too wonky.
Once I was on the cap touch trolley, though, there was no getting off. My initial prototype used a 3.5″ Waveshare TFT, which comes with a resistive touchscreen and a stylus. I’ll save you some time: resistive touchscreens do not support multitouch. Fortunately, there are plenty of capacitive touchscreens available for the Pi. Waveshare sells HDMI and DSI-powered screens, and I tested several of them, but their bezels were just too large for my use case. In the end, the Pimoroni Hyperpixel 4.0 was the perfect form factor:
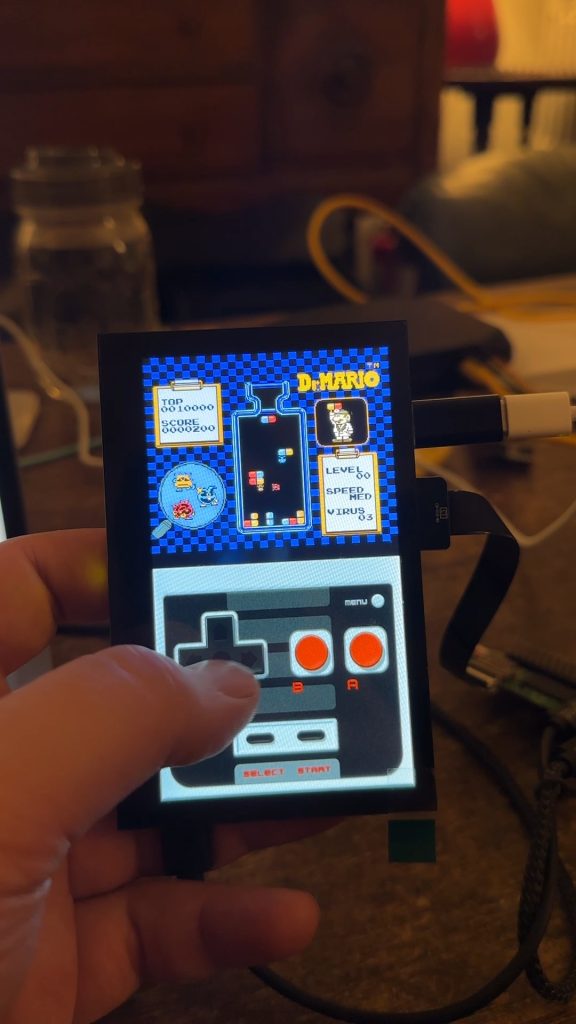
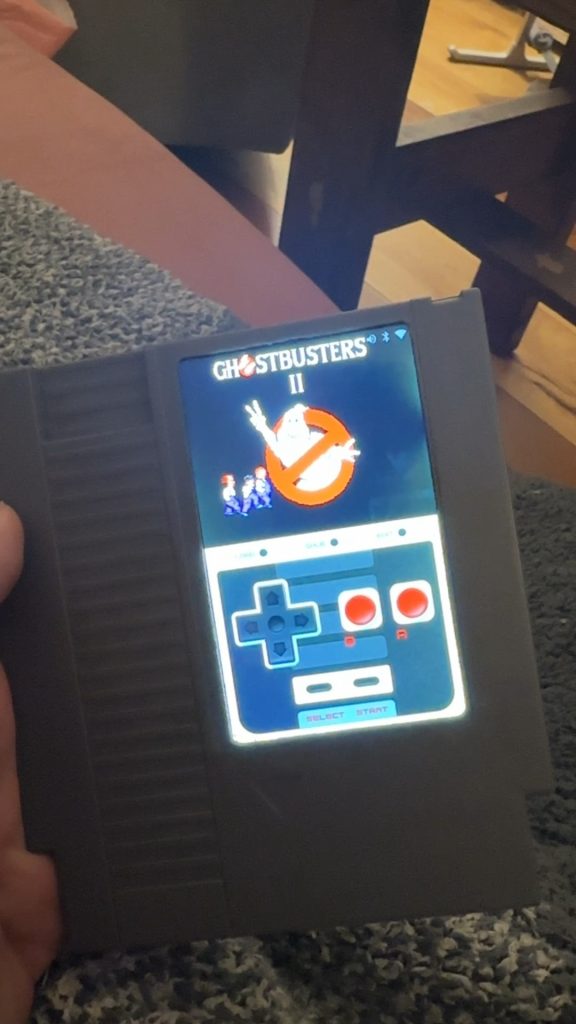
I added an NES gamepad overlay that was originally designed for the amazing iOS emulator Delta, and we were off to the races. A background Python script detects the capacitive touch regions in realtime and converts them to a virtual USB HID device, which is what RetroPie recognizes. I added some hacks to improve gameplay, too, using the reported size of the sensed touch to help clarify intent. In other words, if you land somewhere in the region of the A or B keys but your reported touch is 40+ pixels wide, you’ve probably got your thumb laying across both keys. Same with the right arrow and the B key. It works well enough.
In addition to multitouch, I was also able to add some rudimentary swipe gesture support. On the top half of the screen, vertical and horizontal swipes are repeated to RetroPie as arrow keys. A tap in that region is reported as pressing the button A. This lets the user swipe through games in the game list or the screensaver, and quickly tap one to launch the ROM.
Customizing the RetroPie theme to work with the on-screen gamepad was interesting. I started with this wonderful vertical theme, and hacked it to fit in the top half of the screen, while displaying my virtual gamepad on the bottom half. Because RetroPie is an assemblage of separate programs (mostly RetroArch and EmulationStation), the virtual gamepad has to live in two separate places. On ES it’s part of the theme, while RetroArch considers it an ‘overlay.’ Fun!
Sound is provided by a Waveshare USB audio DAC, removed from its plastic enclosure and directly soldered to the Pi Zero’s test pads, for space-saving reasons. I was unable to use a standard I2S DAC because literally all of the Pi’s GPIO pins are used up by the Hyperpixel display. Fortunately, the Hyperpixel breaks out a Stemma QT / QWIC I2C port, which allowed me to throw in an Adafruit DRV2605L haptic motor controller and buzzer, so the controller buzzes a little bit each time a button is pressed. It doesn’t make up for all the limitations of capacitive touch, but it sure does help.
(Also, if capacitive touch isn’t your thing, you can simply pair a Bluetooth or USB controller. I’ve got a tiny USB hub and a little USB-C breakout allowing for battery charging and use of a wired controller!)
Now, power. This was so tricky.
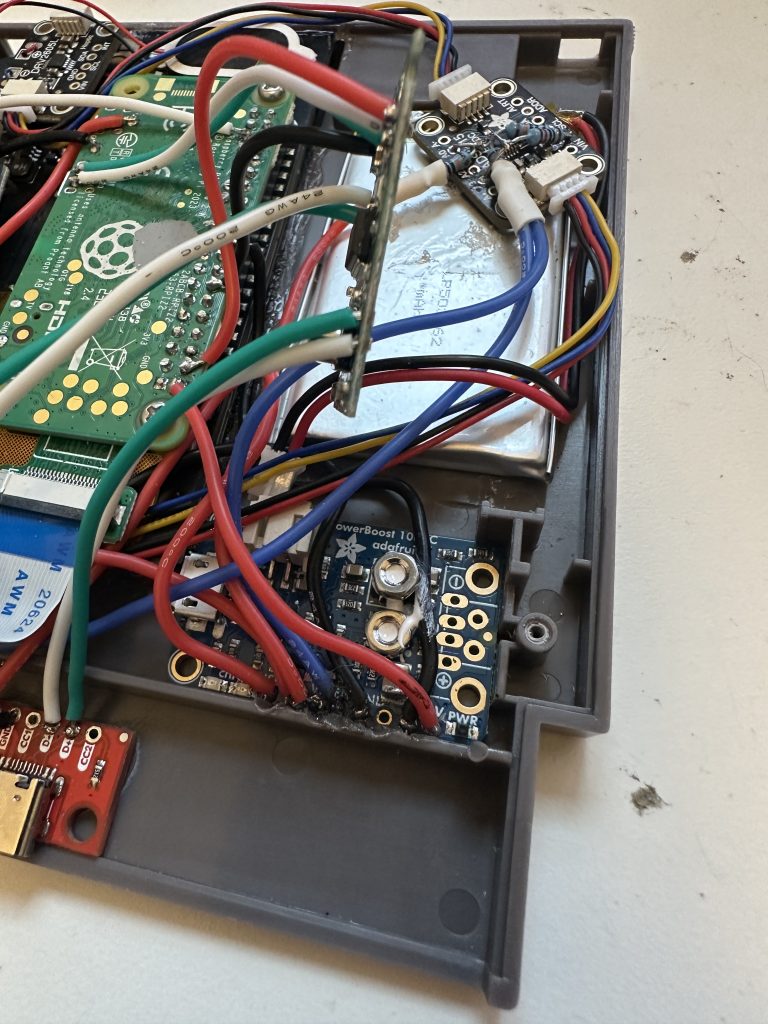
I’d been playing with a lot of lipoly batteries recently, and I really wanted to make this portable, so I stuck an Adafruit PowerBoost 1000C into the case along with a 1200mAh battery. Yay! Power. But how to properly charge and toggle power when the case is closed?
I added a small slide switch which allowed me to pull the PowerBoost’s enable pin to ground to turn the device off, but the Raspberry Pi does not like to be randomly shut off. It complains with corrupted SD cards, yikes.
I could use the Pi to bring the enable pin low, but… how could I wire a single toggle switch that would let me safely turn the device off and then back on again? The PowerBoost can’t control itself once it’s been shut off, and neither can the Pi. Plus, I don’t have GPIO pins at my disposal as inputs or outputs.
I struggled with this for a couple of days, learning a ton about voltage divider circuits and diodes along the way. Over on Github, lipopi has shared a great circuit for using a single momentary switch, some resistors, a 100uf capacitor and a few GPIO pins to achieve the goal of a soft shutdown and reboot on the Pi. But I could never quite get it to work right with my setup.
In the end, I landed on a solution that I’m very happy with. The toggle switch connects the enable pin to either the PowerBoost’s 3.7v battery input for the on position, or to the Pi’s GPIO19 pin for the off position. As I mentioned, the Hyperpixel uses every GPIO pin for its high-def DPI screen, but pin 19 is used for the backlight, and I was able to use dtoverlay=poweroff to bring the pin low when it’s time to shut the system down. I can’t use it to monitor voltage, but thanks to the Hyperpixel’s bit-banged I2C interface, I can do that with an ADS1115 ADC. When it’s toggled to the 3.7v battery, we know the switch is turned on. When it’s shorted to GPIO19, power stays on – the Pi senses a voltage shift and initiates a soft shutdown, at which point GPIO19 goes low, which shuts off the PowerBoost until the physical switch is again toggled to connect it to the 3.7v coming from the battery. I use a voltage divider on GPIO19 to bring its 3.3v down to ~2.7v, which is lower than the lipoly battery can get (but higher than the 2.5v+ needed to signal the EN pin on the PowerBoost), so we know that if that voltage is sensed then the toggle switch is indeed in the ‘off’ position and it’s time to safely shutdown. (As a side benefit, this setup also allowed me to fully activate this awesome status icon overlay on the Pi!) I tried to use a 1n4001 diode instead of two resistors, thinking I could benefit from its 0.7v forward voltage drop, but it didn’t trigger the PowerBoost to shut down once power was lost. I dunno, I’m not an electrical engineer.
I couldn’t have solved the power problem (or even come up with voltage divider or RC time delay solutions) without Claude, which has become a disturbingly effective pair programming thought partner:

(Also, as a late-breaking update: the I2C interface means I can quickly swap in any number of sensors, so I added in a secret Game Boy easter egg using a BMP384 pressure sensor based on a friend’s comment to my original post. Blow on the cartridge and the NinTARDIS switches to Game Boy mode, activating another ~500 ROMs!)
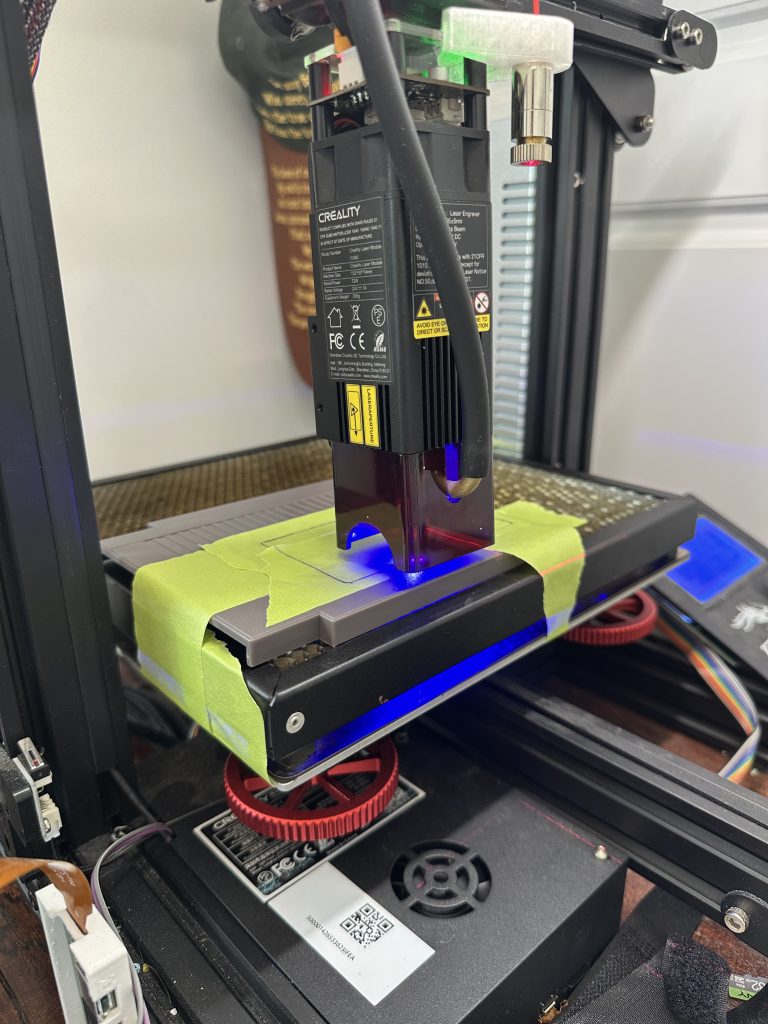
Lastly, coming back to the enclosure itself, I did a definite very bad no-no and used a laser cutter attachment on my Ender 3 3D printer to cut a hole in the ABS plastic shell large enough for the Hyperpixel. Then I just had to do a little Dremeling on the inside to get everything to fit neatly. Two of the three screw holes, as well as two of the three top latches, are retained – allowing the case to close fairly normally.

Some internal components use the Hyperpixel’s standoffs, while others are glued into place. I used a micro SD card extension to bring the card down to where the 72-pin connector usually is, in case I need access in the future. My only regret is that I used Gorilla Glue to mount the PowerBoost to the shell. What was I thinking? The thing gets extremely hot, particularly when it’s powered on and charging, hot enough that it slightly warped the case. I borrowed some advice from the Adafruit forums and turned a small metal nut and some thermal paste into a cute little heatsink, which seems to have alleviated the problem, but if I had a mulligan I would certainly lift the PowerBoost up so it could be adequately cooled on all sides.
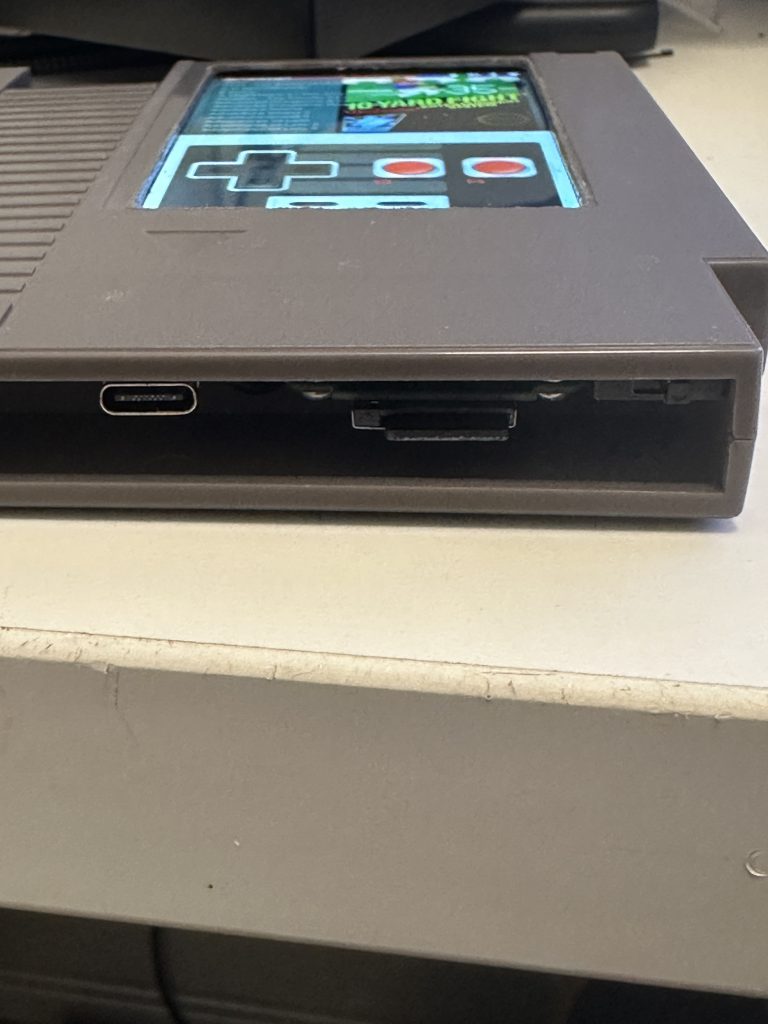
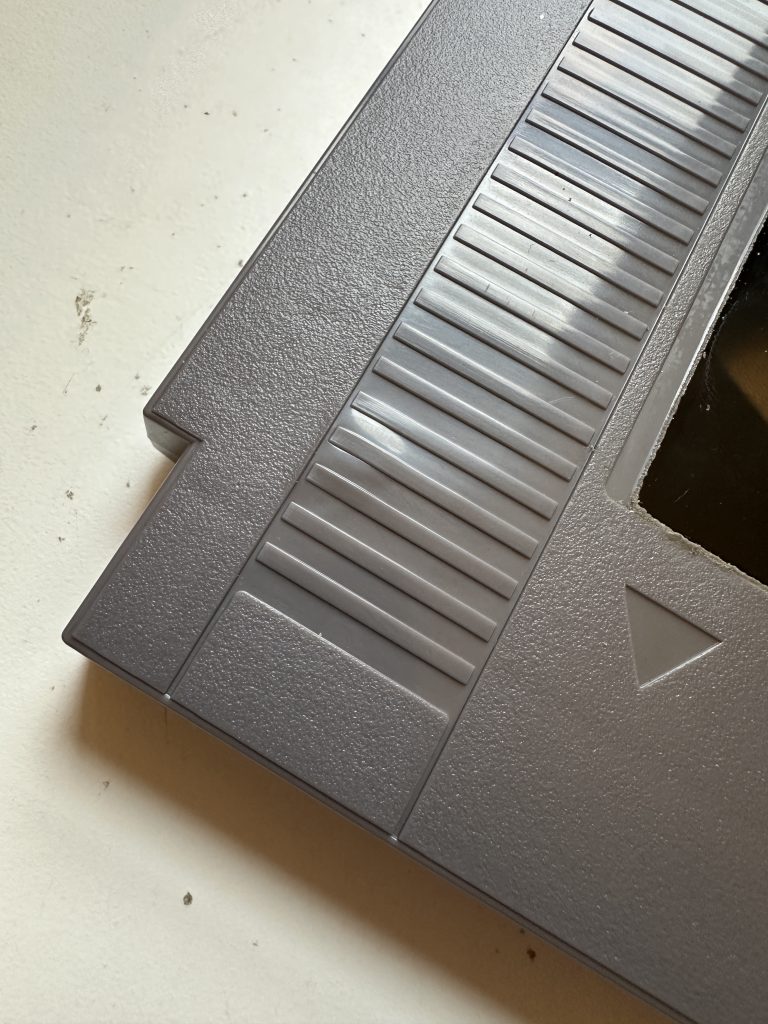
And that’s it! This thing is so much fun. There are so many ridiculous games for the NES that I’d never heard of, plus incredible modern ROM hacks and re-skins. I’m surprised by how enjoyable it is to play. Did you know there’s a Three Stooges game for the NES, and it opens with Moe, Larry and Curly walking in over a splashscreen of Ghostbusters II and realizing they’re in the wrong game? Amazing.
If you want to try to build this yourself…
…the BOM, such as it is:
- Nintendo cartridge shell & dust jacket
- Raspberry Pi Zero 2 (without headers! needs to sit very close to the Hyperpixel)
- Pimoroni Hyperpixel 4.0 display with capacitive touch
- Adafruit DRV2605L haptic controller
- Vibrating motor
- Waveshare USB audio DAC
- 8ohm, 1watt speaker (or whatever fits)
- Adafruit PowerBoost 1000C
- 1200mAh lipoly battery (2000mAh might fit too)
- Adafruit ADS1115 ADC
- USB hub PCB
- USB-C downstream breakout
- SPDT slide switch
- MicroSD extension ribbon (optional)
- SparkFun BMP384 pressure sensor (optional; for blow-on-the-cartridge easter egg)
- Various Stemma QT / QWIIC cables
- Assortment of resistors for your voltage divider
- 2.5mm standoffs, nuts, washers, thermal paste, glue
- Dremel, drill, CNC, saw, laser cutter (again, no, don’t do this), choose your weapon
…and on the software side (along with my code [very coauthored by claude.ai] on github, here):
- RetroPie
- NES ROMs and box art (from… the internet)
- ssimple v vertical theme for RetroPie (modified, see my code)
- gbz_overlay (optional)
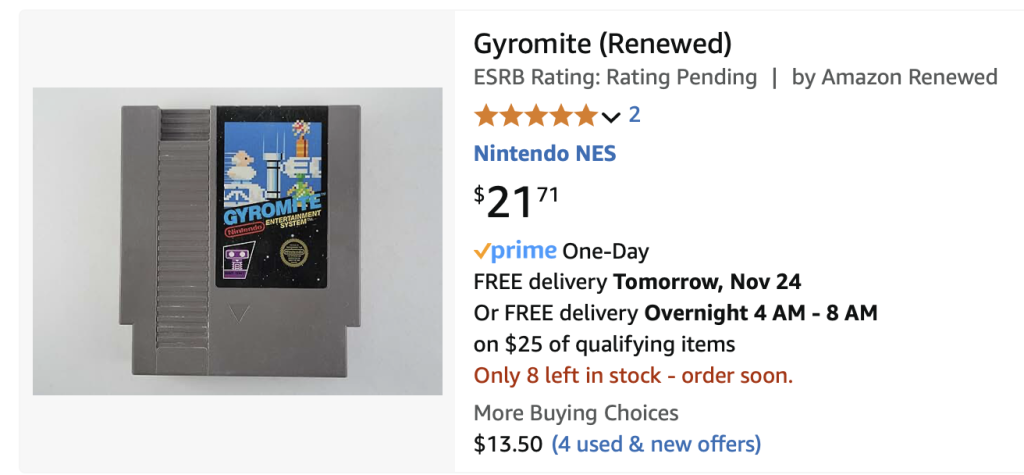
P.S. Did you know you can buy “refurbished” NES games via Amazon Prime and get them next-day? Say what you will about Bezos, but this is impressive.
