Photo Finish!
I made a homebrew photo booth for my oldest friend’s wedding in a marathon 48-hour one-man hackathon. Phew! Now that the dust has settled, I figured I’d write it up here because I’m pretty chuffed with how it turned out.
Adam and I grew up around the corner from each other and our parents and older sisters were friendly with each other, so we knew each other before we were born. We went to preschool together but then went our separate ways when it was time for first grade. After that, the obvious move would’ve been to simply drift apart — but somehow, the intervening thirty-five years have only brought us closer. So when he asked me not only to emcee the wedding but also to ideate a homebrew photo booth with him, it was a no-brainer!
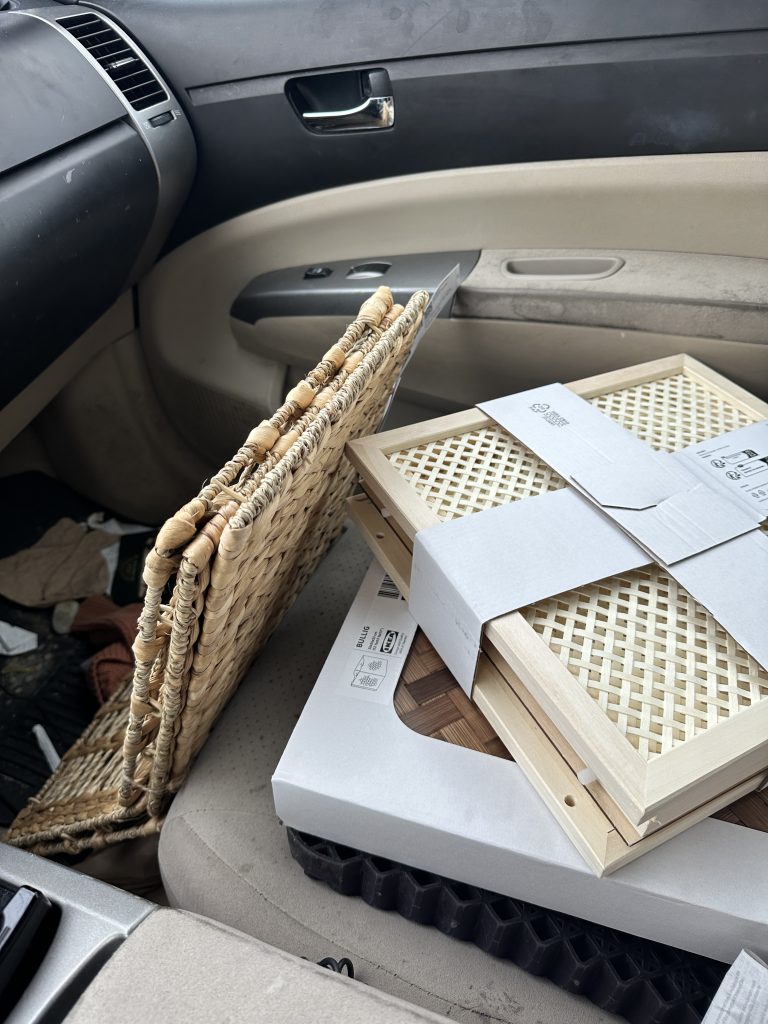
But life is pretty distracting — so I didn’t have a chance to really focus on it until Wednesday, two days before I had to hop in the car with the finished piece and drive up to Maine. Yikes.
48 hours ’til we left for the wedding…
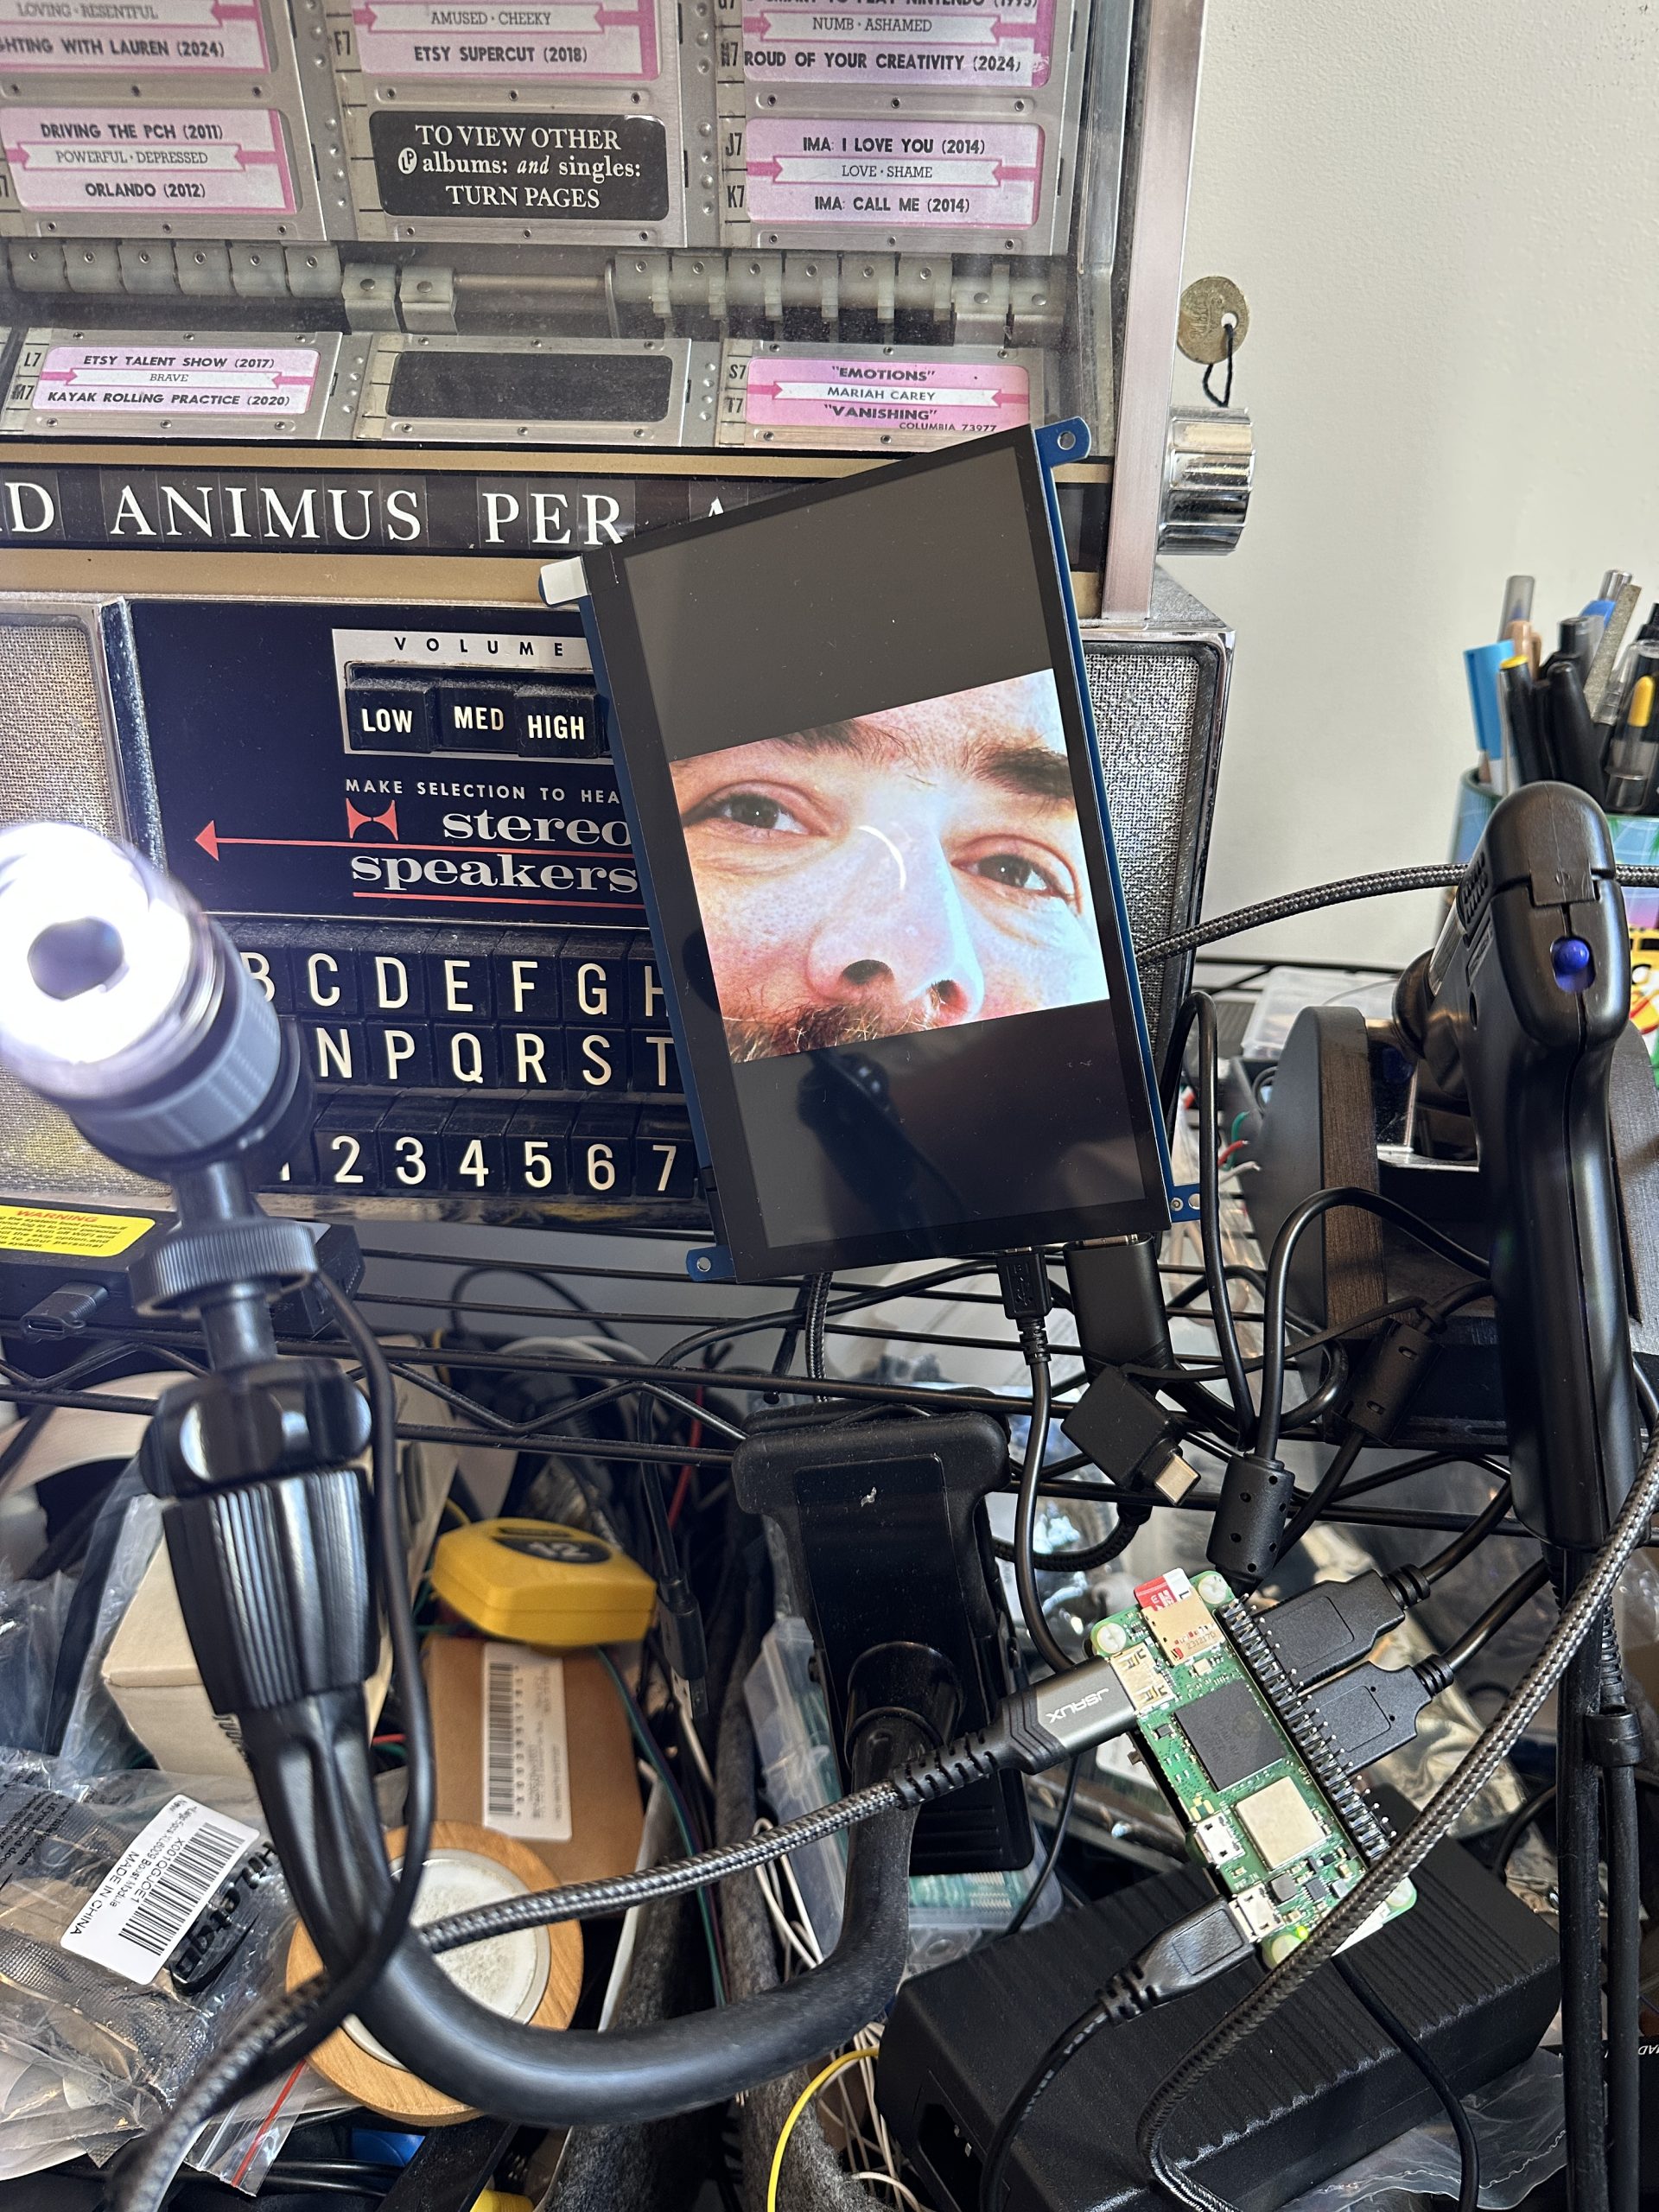
I knew I wanted to attempt a Raspberry Pi-based installation, given that I had just about every component I needed to put together a quick prototype. Before long I had the basic functionality seen below: a Pi Zero attached to an HDMI touchscreen and a USB microscope. Hey, you have to start somewhere…

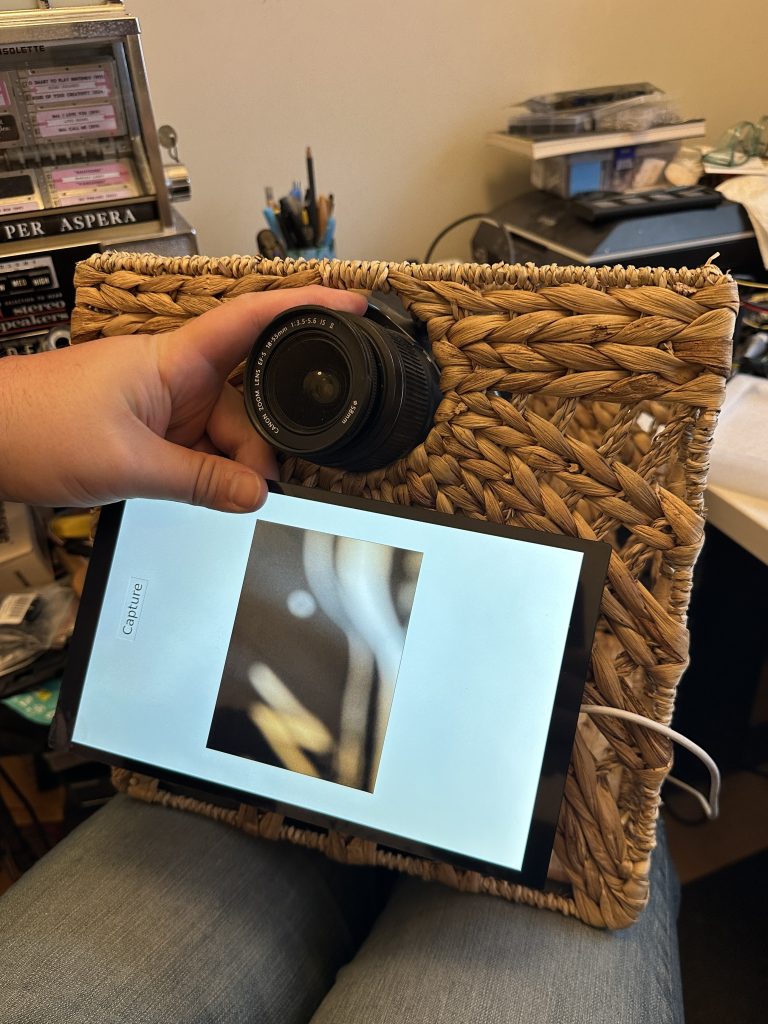
Adam’s highest priority for this project was image quality, so we mostly ruled out an embedded Pi cam or even a high-quality webcam. DSLR or bust — and he wanted raw photos and a 50mm lens to boot! Since we were plotting long-distance, I didn’t have access to his Canon Rebel T4i to test, but fortunately my brother provided a slightly older Canon Rebel T3 with an 18-50 lens.
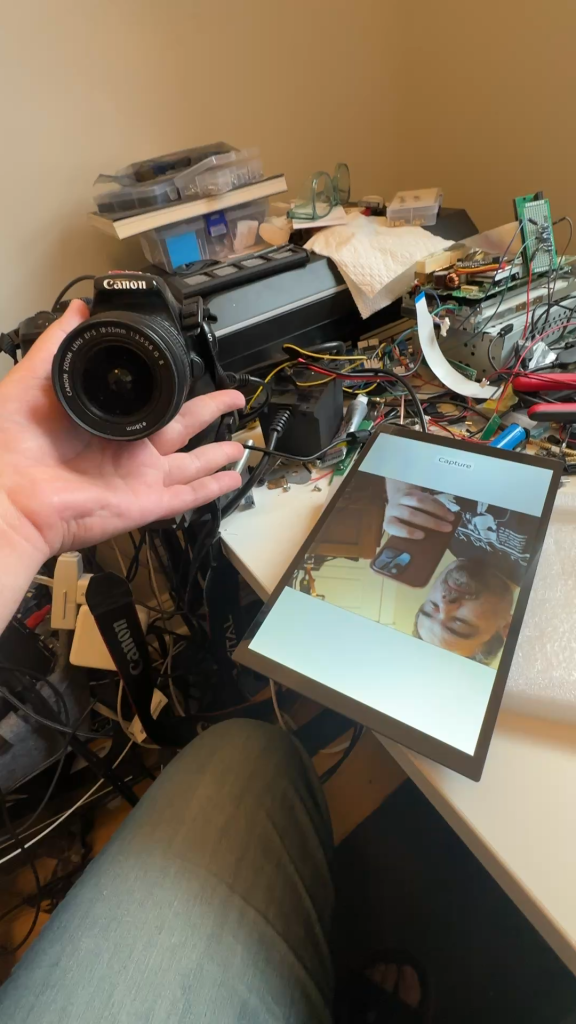
With that, I was able to get to a basic functional prototype pretty quickly! The T3 has a mini USB output and can be controlled via a Pi using libgphoto2. I whipped up a vibe-coded Python script that pulled a live video stream over USB and drew it onto the DSI display using OpenCV, adding a simple GUI with some buttons to capture a still frame and reset the experience using tkinter:
The biggest problem at this stage, honestly? Power management and USB cable quality. Behind this power-hungry 10.1″ Waveshare DSI touchscreen (replacing the HDMI touchscreen I’d tested with a few hours earlier) is a Pi 4B (replacing the Zero 2). I had trouble plugging in any other peripherals without messing up the screen, though, and every time I tried to capture a frame with gphoto2 the DSLR’s USB connection would repeatedly break. In the end, I ran a separate power line to the camera (I was using a dummy battery with a USB-C connector that I foolishly thought I could power via the Pi) and solved the mysterious Canon USB issues by swapping in a higher-quality mini USB cable.
36 hours ’til we left for the wedding…
With what I figured was 80% of the MVP functionality in place, the biggest challenge became trying to source and/or build a nice enclosure. I headed to Facebook Marketplace and started looking at old retro TV enclosures, medicine cabinets, side tables, etc… but in the end popped over to Ikea and bought a bunch of storage bins designed for their cuboidal KALLAX shelving units.
I also sourced a portable rolling TV mount off of Amazon. After that, most of my time was figuring out assembly.
12 hours ’til we left for the wedding…

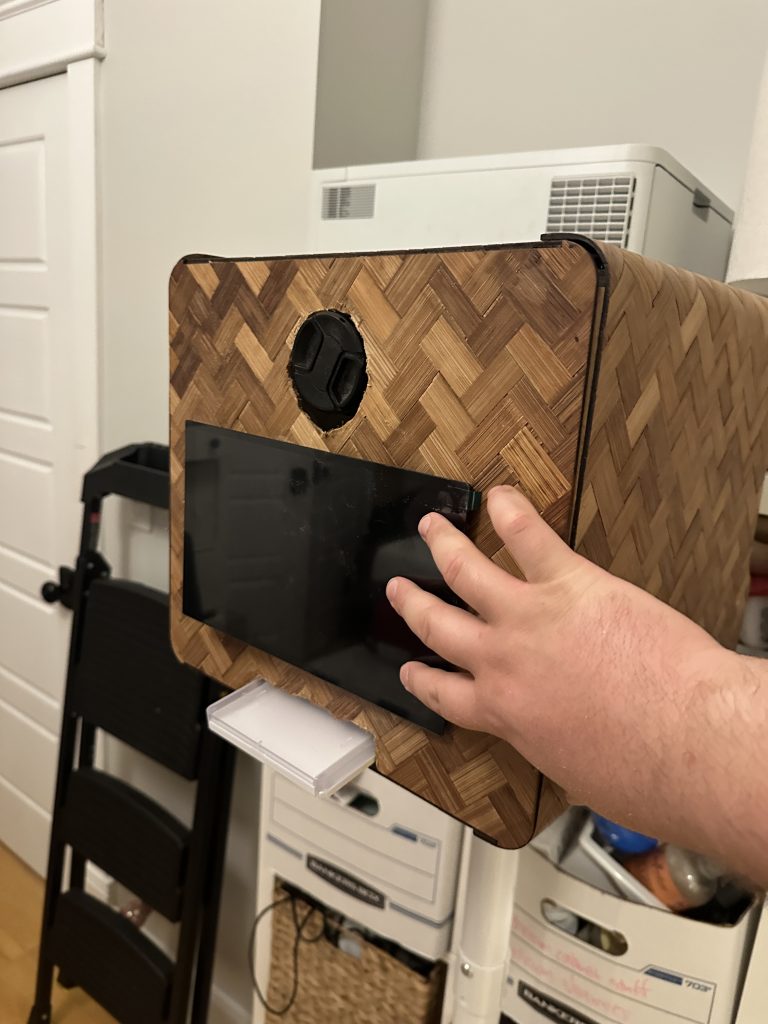
I wound up selecting this BULLIG bamboo storage bin for its relative sturdiness, drilling a bunch of holes to mount it to the TV stand and using various screws and standoffs to mount the internal components.
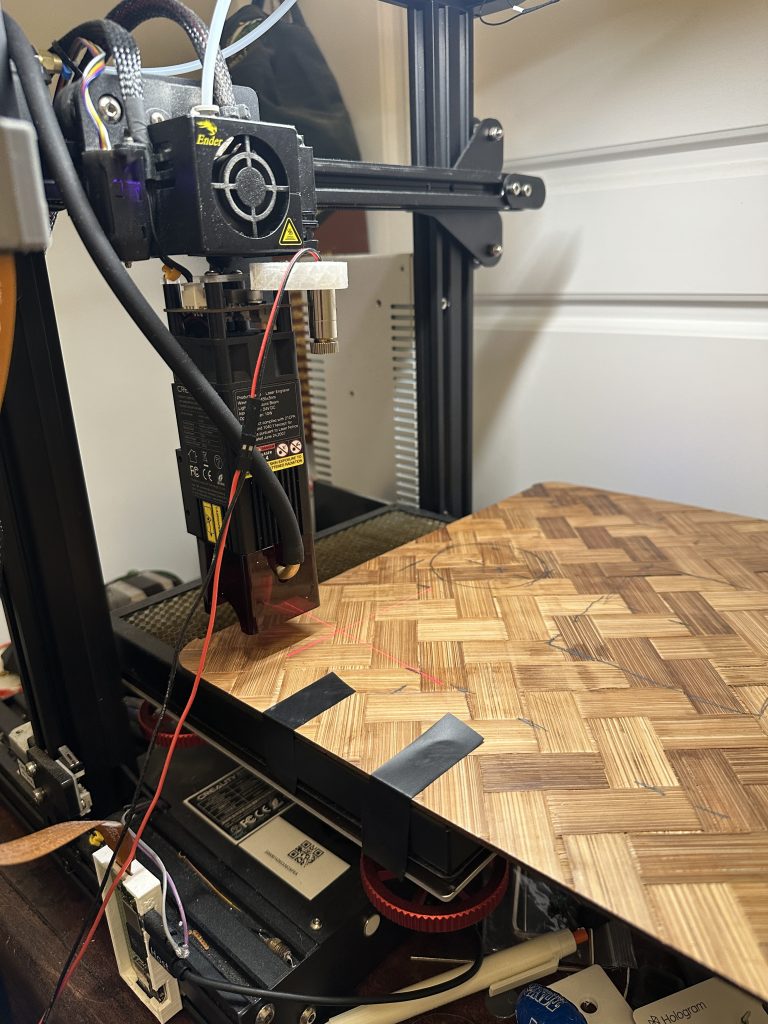
I thought I’d get real clever and use the laser cutter attachment on my 3D printer to cut mounting holes and camera holes into the faceplate, but… yeah, the Ender 3’s bed isn’t as large as each individual panel of the BULLIG box, so I was back to square one. I spent some time hacking away at it with a Dremel, but eventually scrapped the faceplate because I just didn’t have enough time to clean it up.
Time was running out!
4 hours before we left for the wedding…
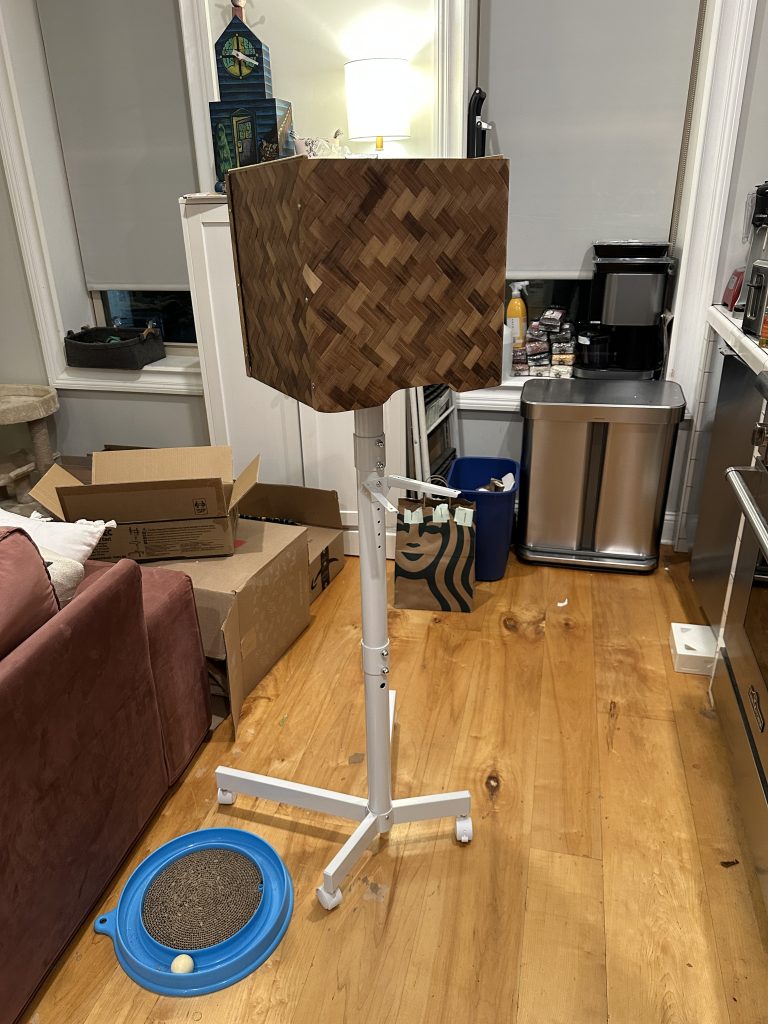
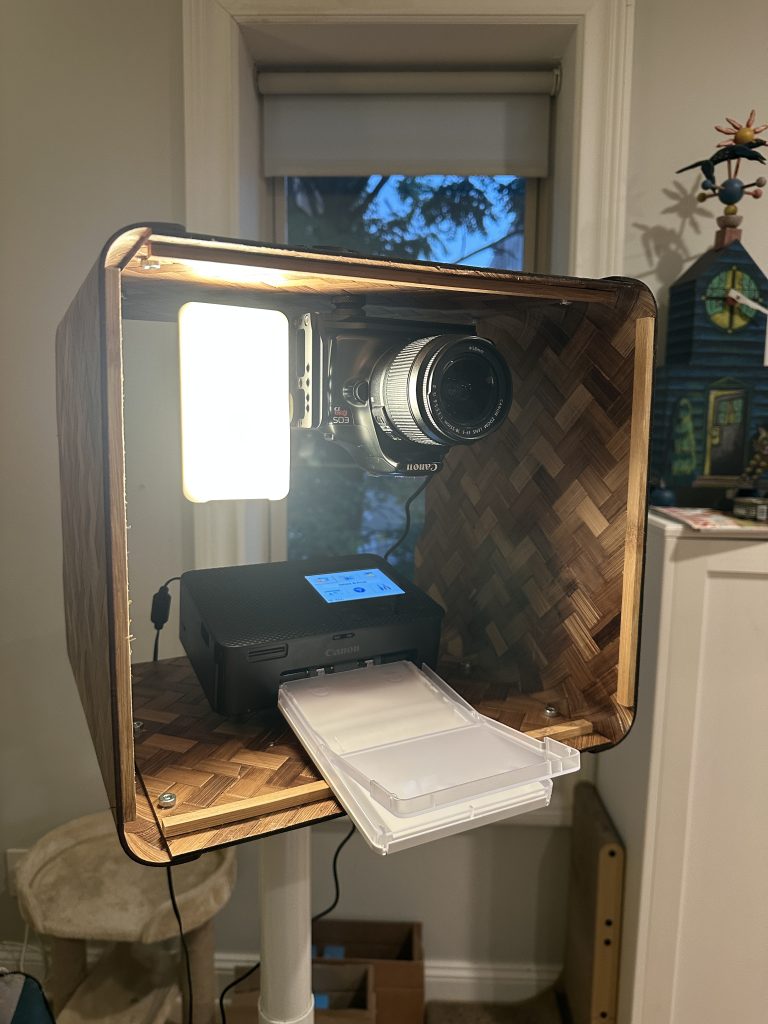
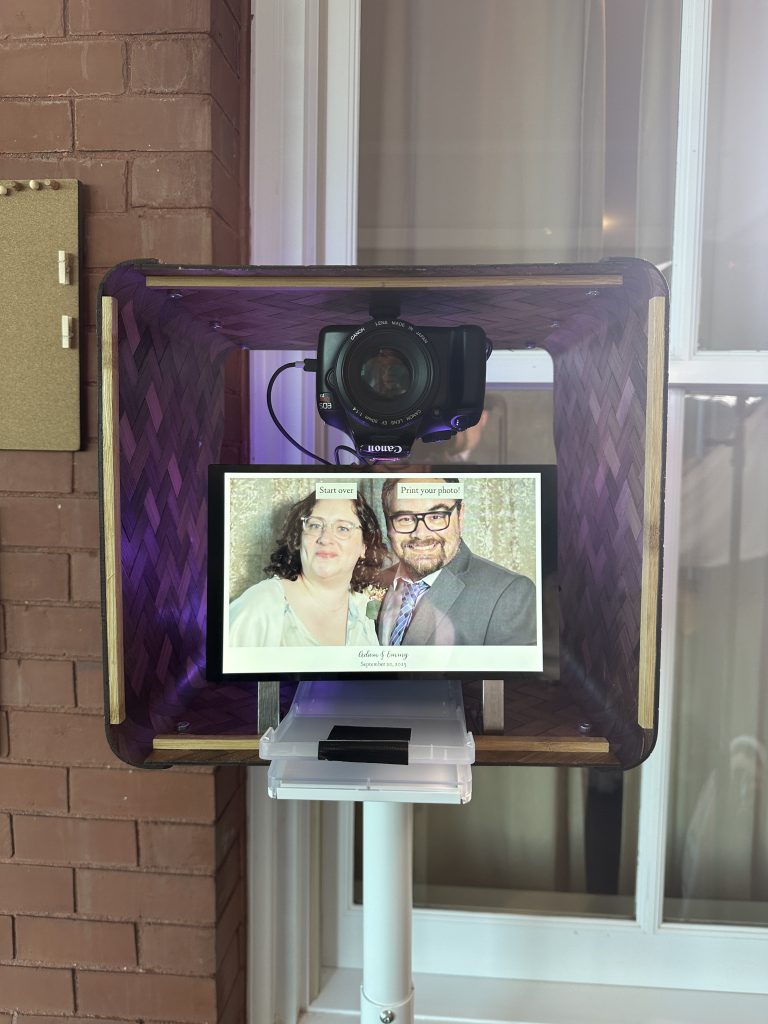
By the time the sun came up on the big day, I had all the hardware assembled. I’d added a Lume Cube LED panel (later replaced with an external tripod-mounted panel) and a Canon Selphy CP1500 4×6 printer. I was pretty happy with how it looked sans faceplate, even if the aesthetic was a bit more raw / techy than I’d planned.
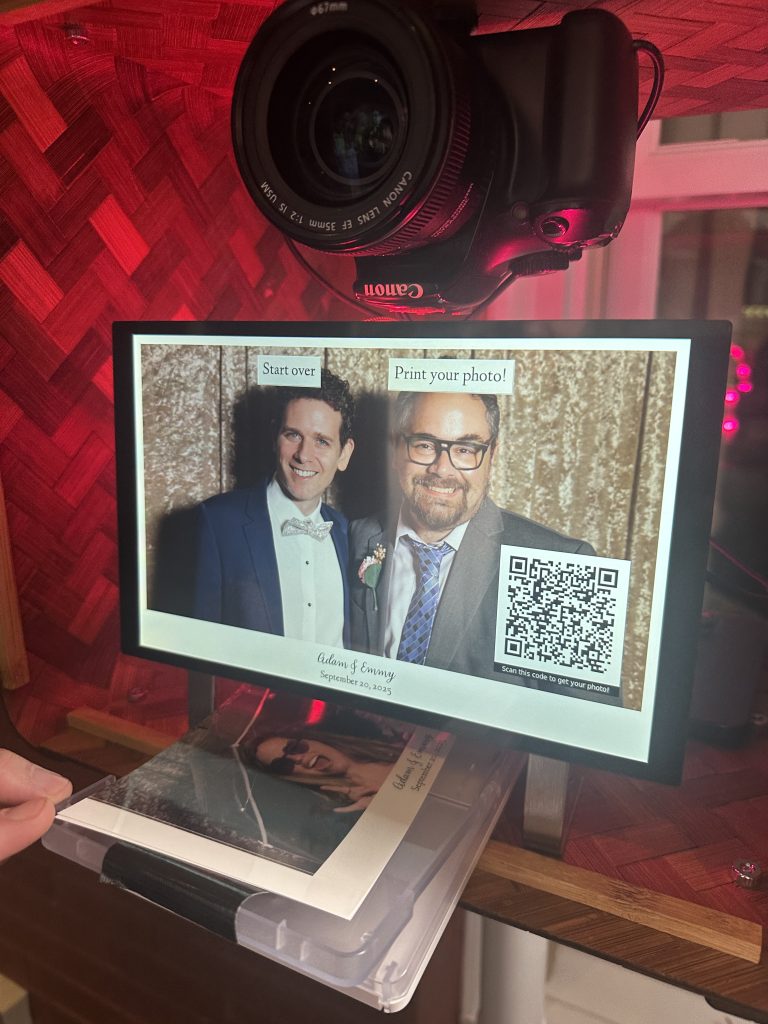
Getting the photo printer working over CUPS with Gutenprint drivers on the Pi was a mess. I never got it working right over USB, but eventually got it working over wifi, after building the newest version of Gutenprint from source (thanks to these instructions), which features dye sublimation print drivers that are unavailable in older versions of Gutenprint on the Pi. My script resizes each raw image to the Hagaki postcard dimensions of the Selphy printer, while also converting each one to .png since sending .jpgs caused the printer to throw strange unknowable errors.
Then it was time to drive to Maine and hope for the best.
12 hours before the big day…
Most of the rest of the experience was a blur. I had a brief moment to test the setup in the reception space, where I discovered that the venue used a captive portal wifi config (the kind where you have to click a button to accept some terms & conditions before connecting) that would make it impossible for my Pi and printer to connect. I wound up setting up a pay-as-you-go LTE account over Visible on a spare iPhone and running my own private hotspot for the photo booth during the wedding. (I only got this far after a detour to Best Buy where I bought some ethernet paraphernalia under the delusional belief that I could set up a wired connection thru a nearby RJ45 jack!)
I lugged the whole apparatus up to my hotel room (conveniently just up a short flight of stairs) and proceeded to spend the rest of the night (and the wee hours of the morning) tweaking every little parameter to make it as foolproof and functional as possible.
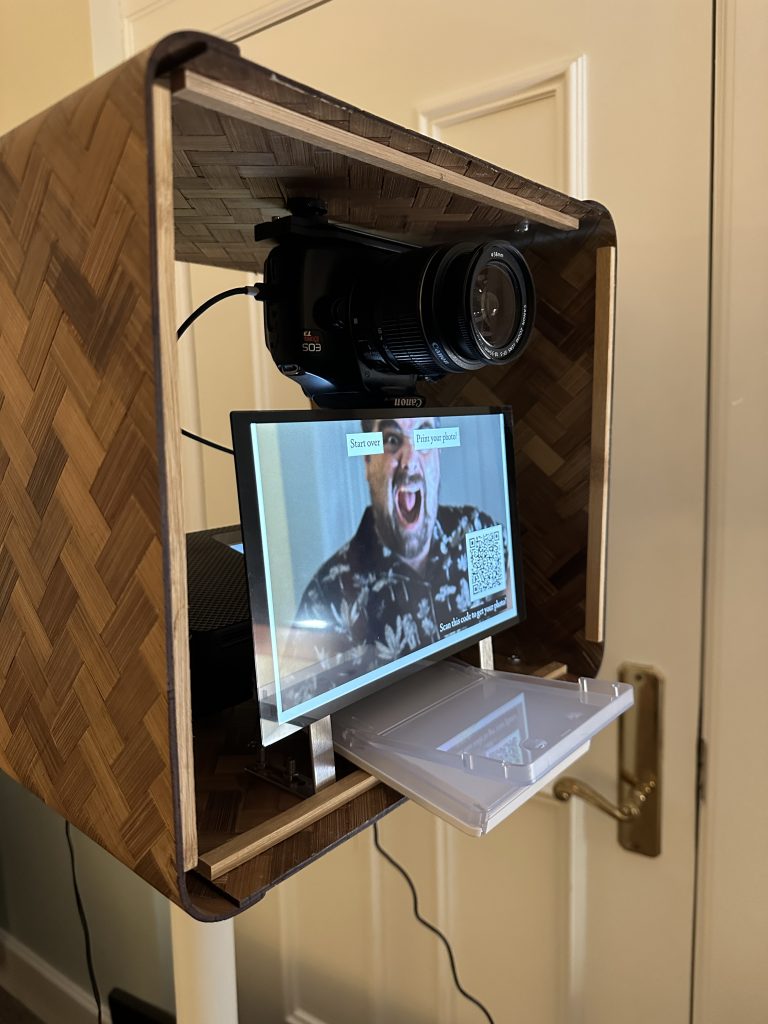
Much of this involved adding and refining helper text to the UI while gphoto was (slowly) capturing and saving the raw photo, and while CUPS was printing the pic. It also involved reducing the lag on the video’s livestream (made worse by the fact that the DSLR was mounted upside-down, so each frame had to be flipped before being displayed) and setting up Cloudinary to remotely host each image so the wedding guests could download them by scanning a QR code that displayed on the screen with the final image.
This madness of course produced a series of increasingly crazy test photos as the night wore on:
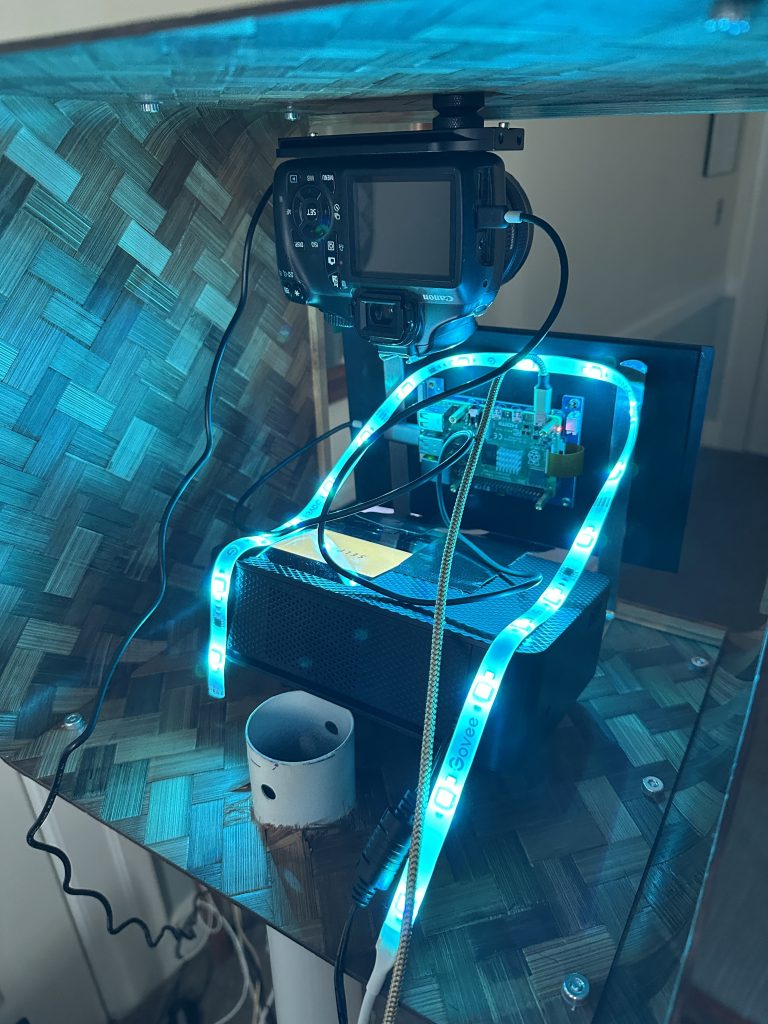
Below is the view from behind, to show the mounting setup and the programmable LED strip I grabbed at Best Buy to make the now-visible insides look a little sleeker. I also had to use some judicious gaffers tape to properly route the 4×6 paper under the LCD panel.
Unfortunately, in all my cleverness I failed to account for the need to swap out paper and ink during the wedding party. I wish I’d tested this beforehand! But I was able to do this with only a bit of surgery, each time the need came up. (I did have to monitor the setup pretty closely — next time I do this, I’ll add some functionality to my Python script that will monitor CUPS status and send me an SMS each time the printer reports being out of paper or ink!)
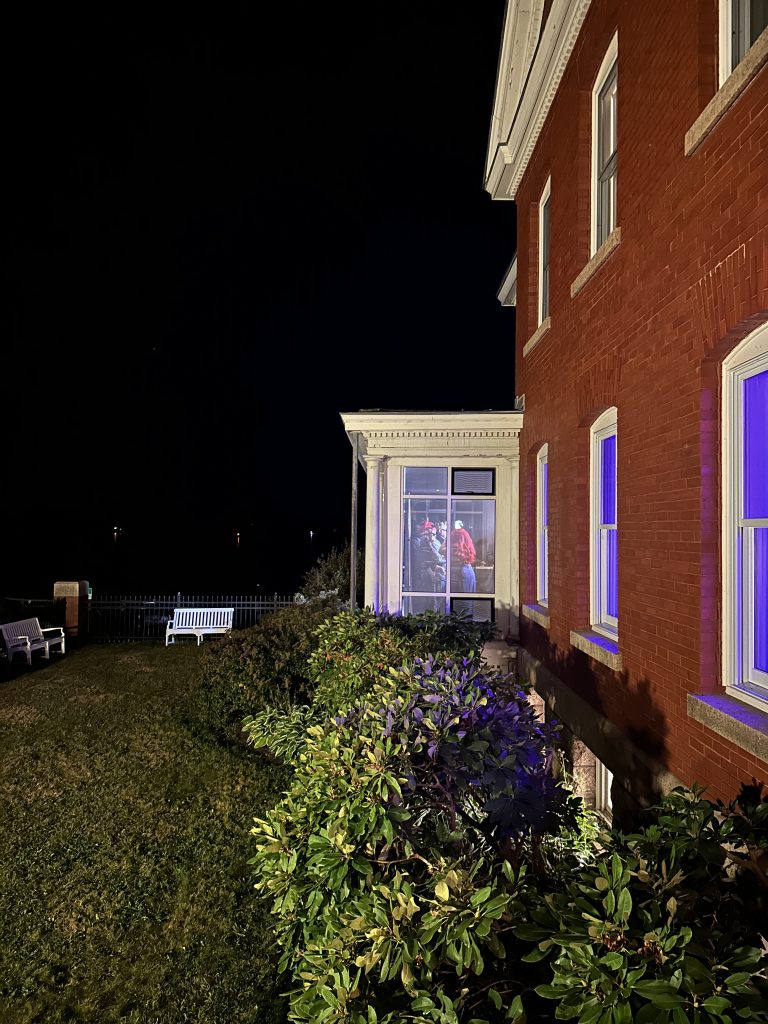
The big day!
It’s a bit anticlimactic — nothing blew up!
Most of the big day was spent celebrating Adam and Emmy, feverishly trying to get a playlist of .wav files from a PC laptop to an old iPhone SE with the headphone jack needed to tie into the venue’s audio system, and prepping for my emcee duties.
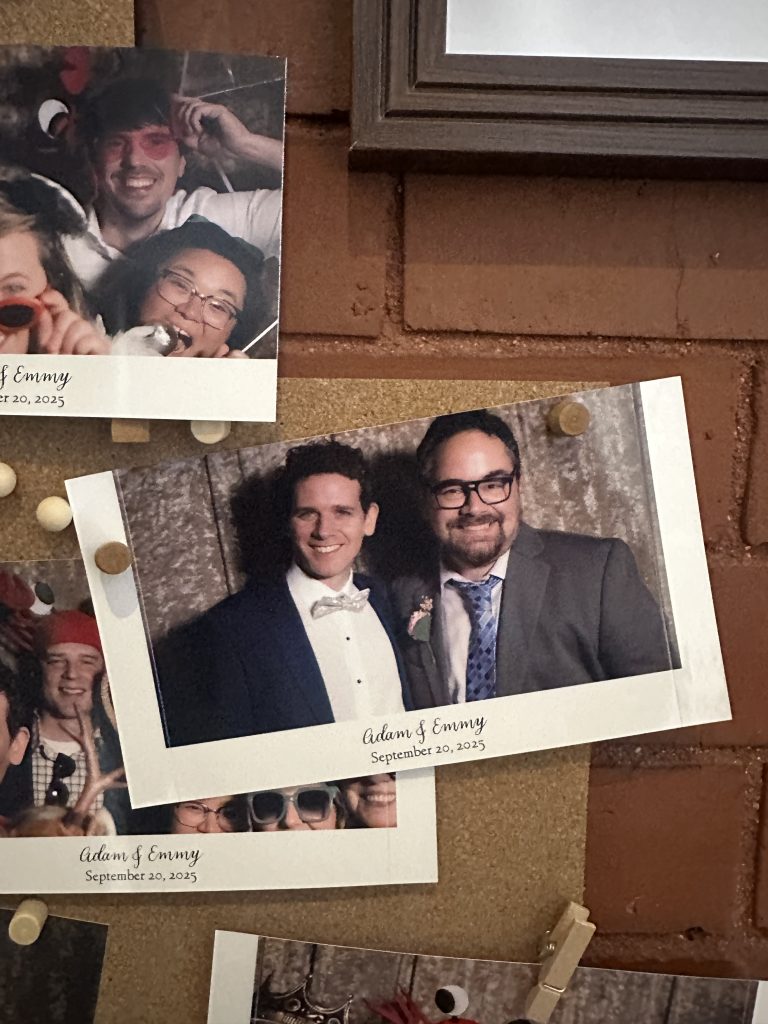
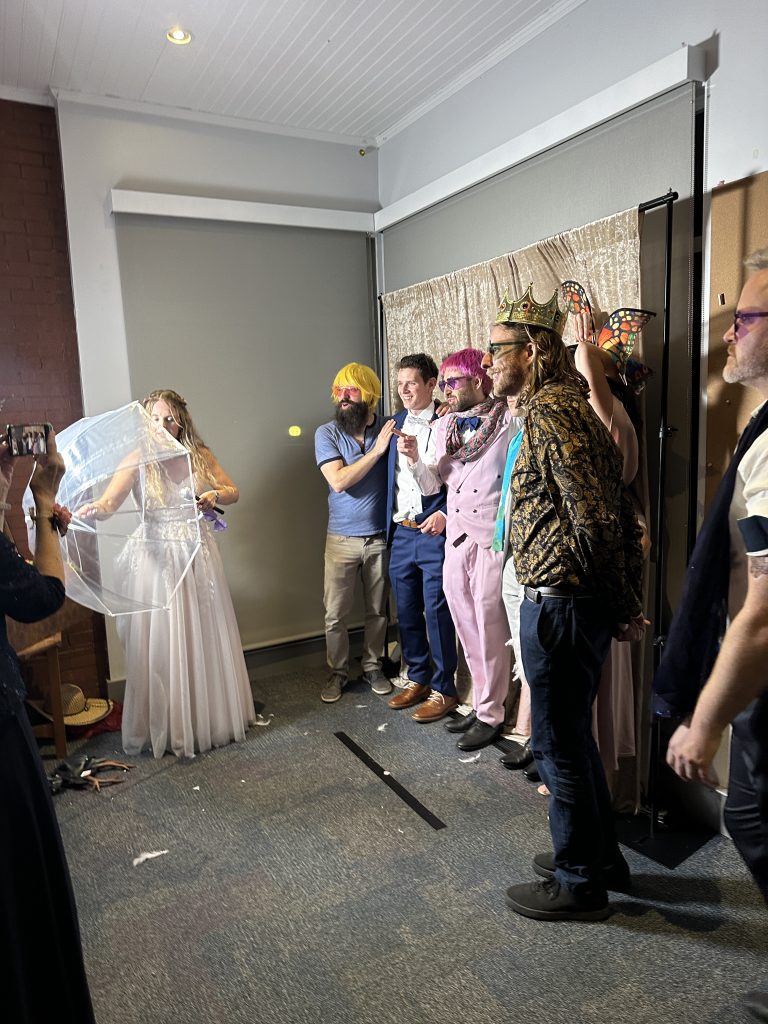
But: the booth was a smash hit! Adam’s photographer loaned a 35mm lens that worked much better than Adam’s 50mm lens, which forced such a tight framing that only ~2 people could use the booth at any time. (Here I offer full credit to Emmy’s friend, who came over early in the night and gently but forcefully encouraged us to take up the photographer’s offer and swap out the lens!) After we took care of that, the booth was well-attended all night, and all seemed to go quite smoothly, aside from people having to find me on the dance floor to swap out paper and ink cassettes.
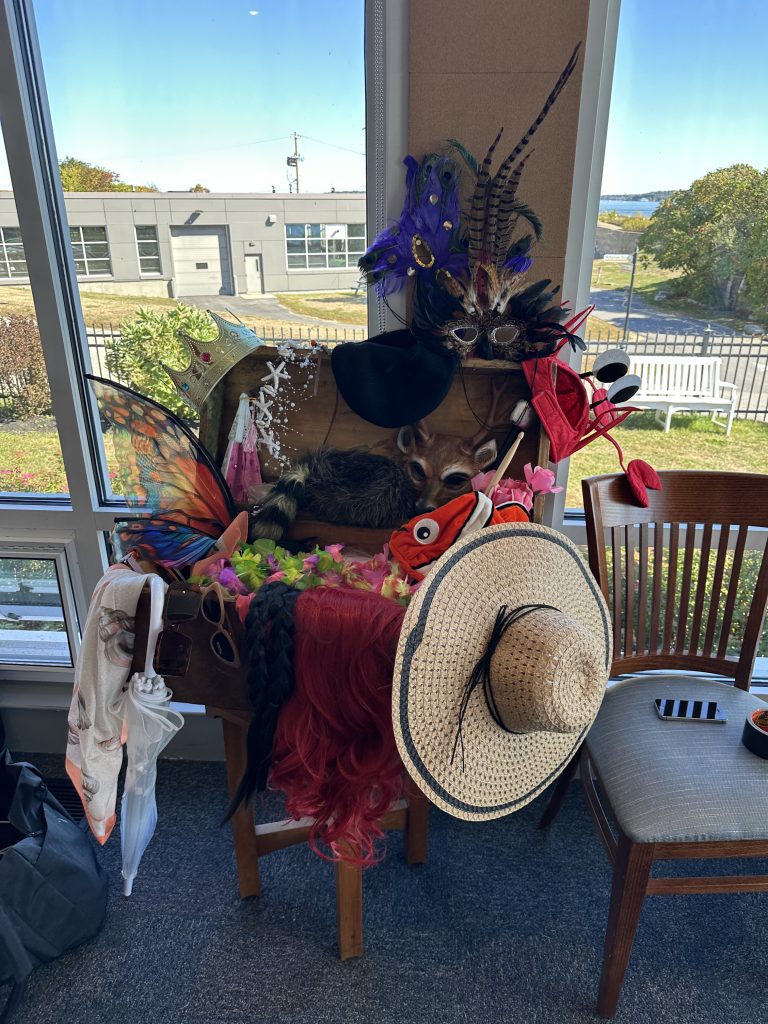
Some action shots:
Here’s the full shopping list if you’d like to make one of these for yourself:
- Raspberry Pi 4B
- Waveshare 10.1″ DSI Touchscreen
- A DSLR supported by libgphoto2
- Canon Selphy CP1500 4×6 photo printer
- BONTEC Mobile TV stand for 23-60″ TVs
- Lume Cube Mini bi-color LED panel light
- IKEA BULLIG bamboo storage bin
- Govee LED strip light (trimmed as needed)
- Mounting hardware / standoffs / L brackets
Libraries you’ll need include:
- CUPS & Gutenprint ≥ 5.3.5
- libgphoto2
- Cloudinary or another remote storage solution
- A qrcode generator
The Python script that runs all this madness can be explored on github, here.
I can’t wait to get started on the v2, with finished faceplate, a more-responsive UI, notifications/alerts, custom 3D-printed mounts, cleaner cable / power management, and perhaps some fun genAI easter eggs, backdrops and props. (So, uh, if you’ve got a wedding or other special event come up – ping me!)
I love you, Adam! Here’s to many wonderful years with Emmy!!